Cardboard toaster Tutorials
- Bankky N.
- Jan 17, 2019
- 1 min read
Updated: Jan 11, 2023

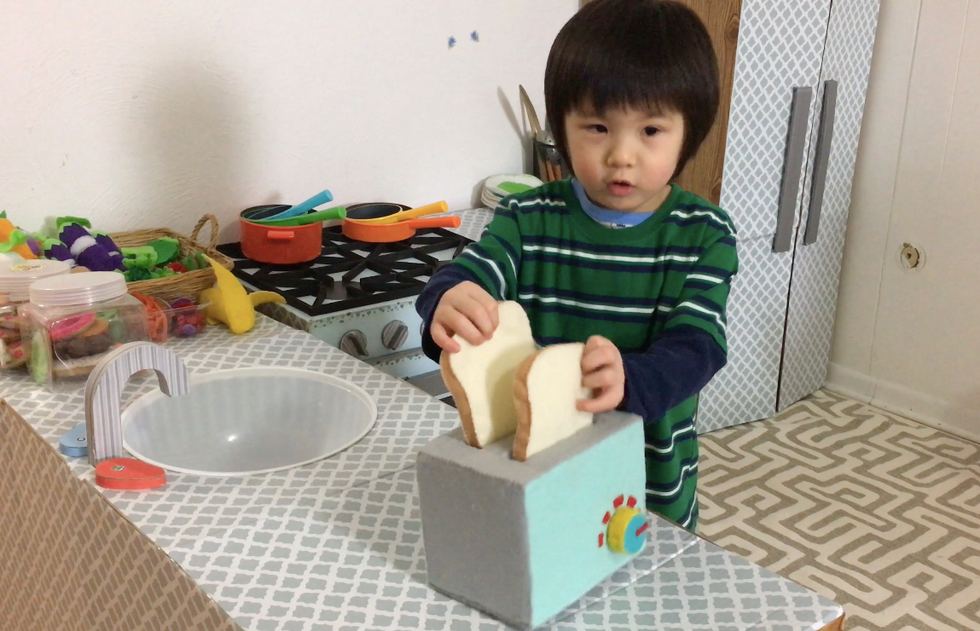
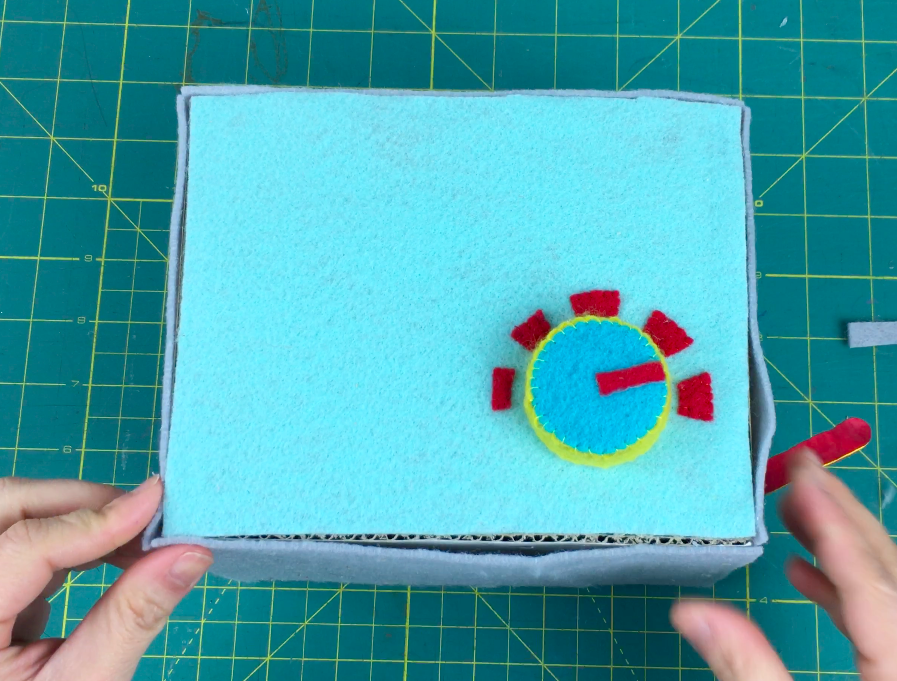
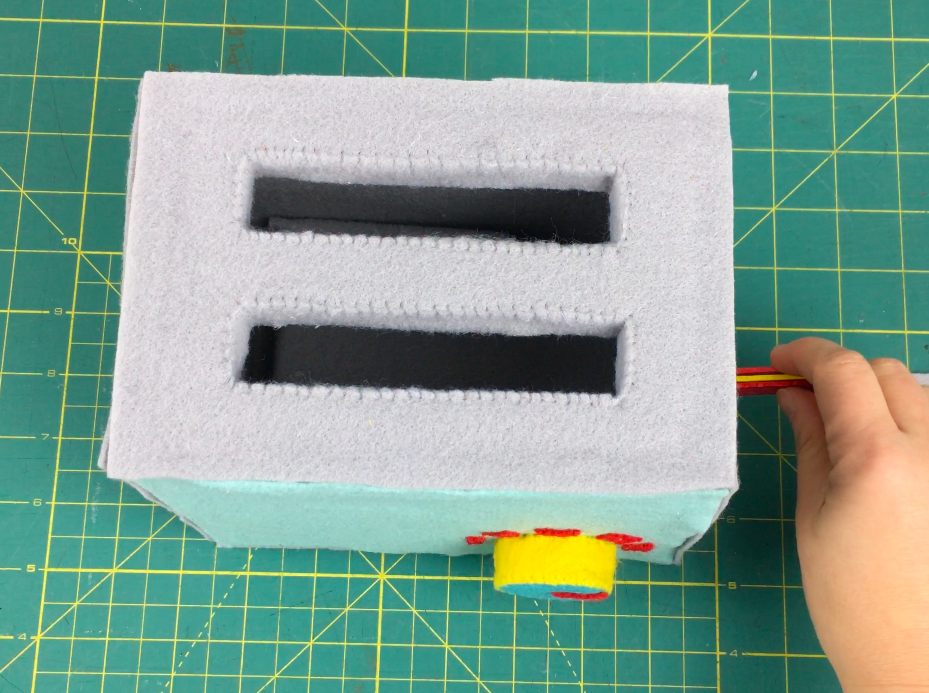
Today I made cardboard toaster for my little chef then I decided to cover the cardboard with felt and whip stitch the whole thing also I give a little detail on the front, moveable button, and lever inside the toaster to make the slices of bread pop out!
It's taken me about 4 hours from start to finish. in my opinion Hand stitch really make the toaster stand out I Love the hand made looks but the most important it's make me feel special to be able to make toys for my kids to play.... at the end my kids have fun and I have something to do
Things I use for this project
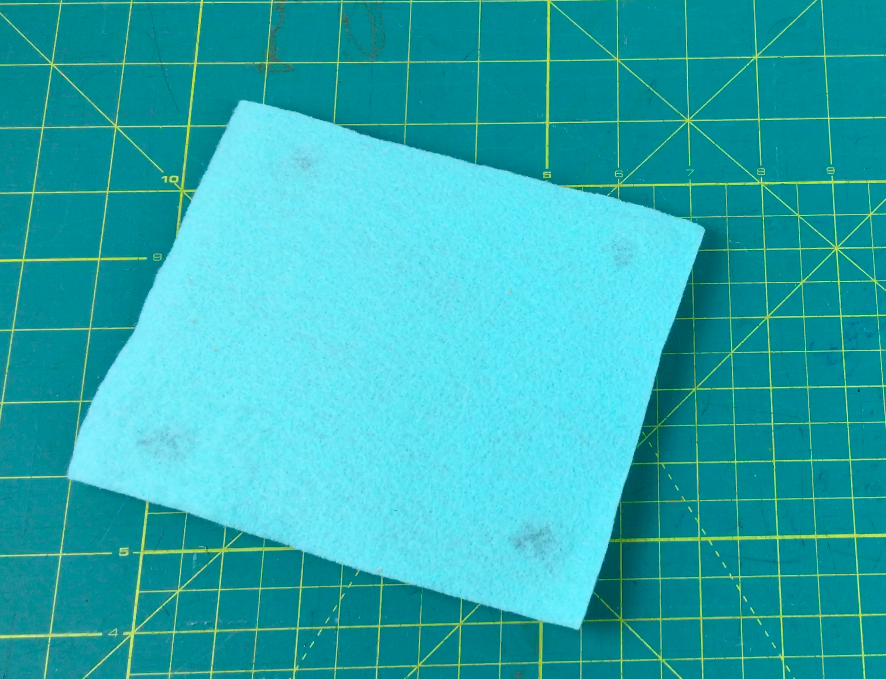
Cardboard
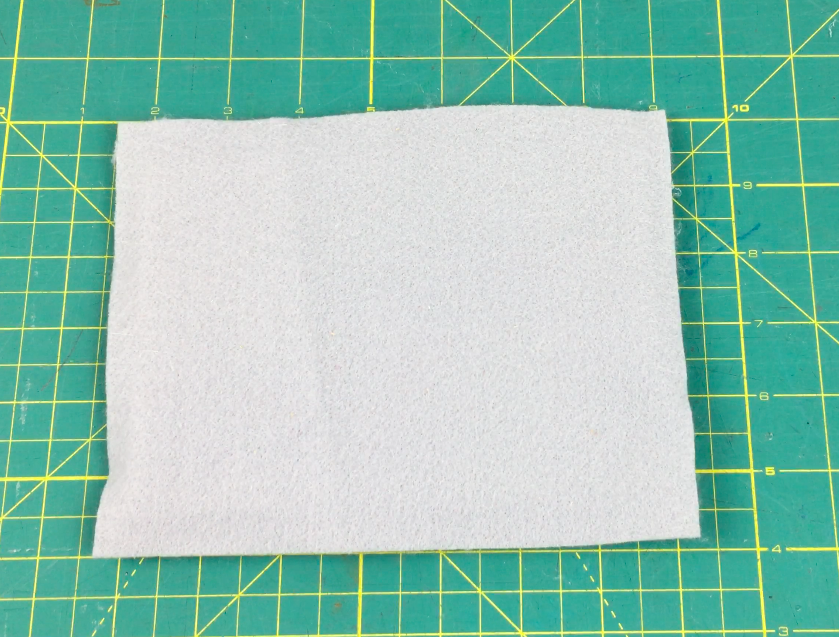
Felt, needle, thread
Hot glue
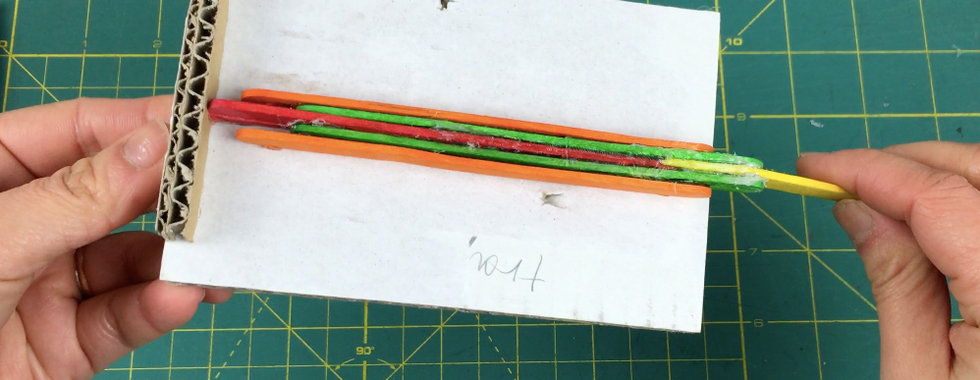
Pipe cleaner
Popsicle stick (from Dollar Tree)


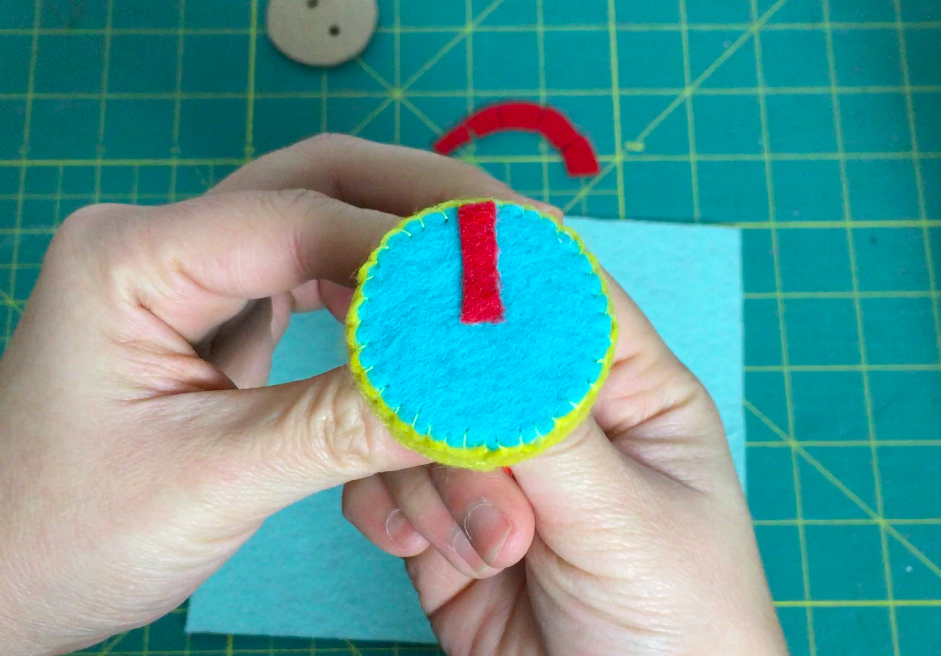
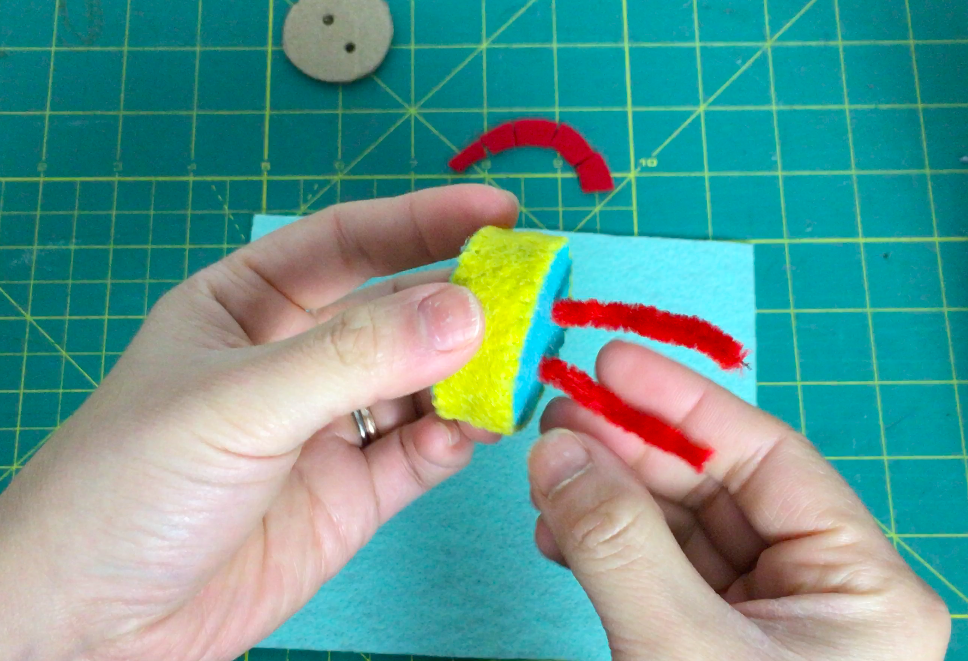
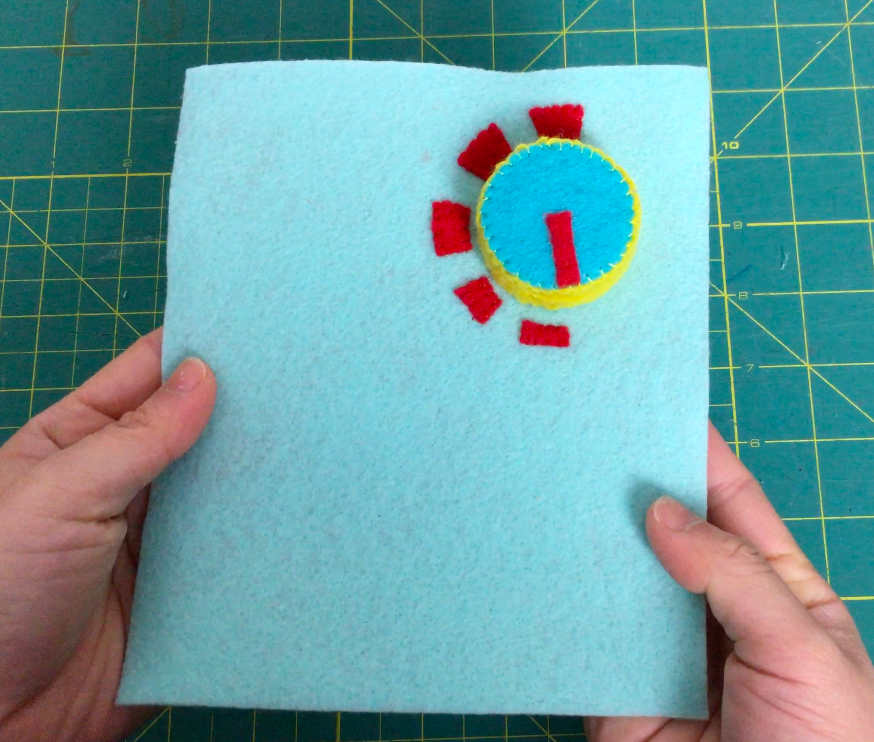
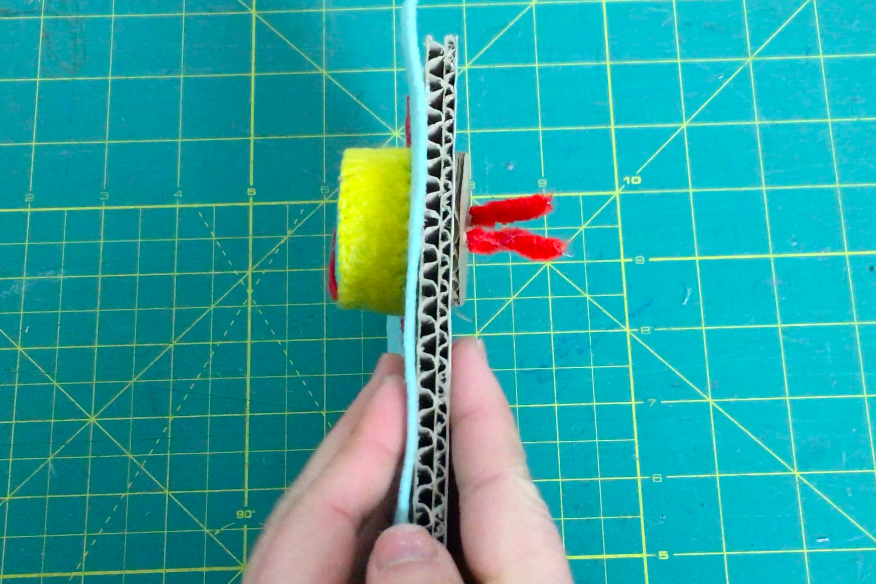
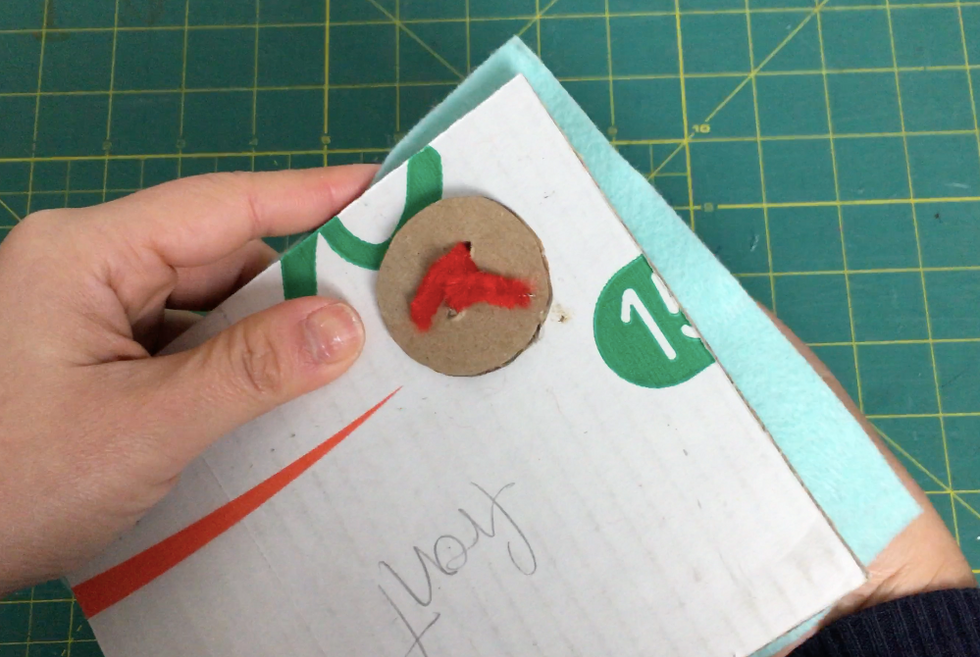
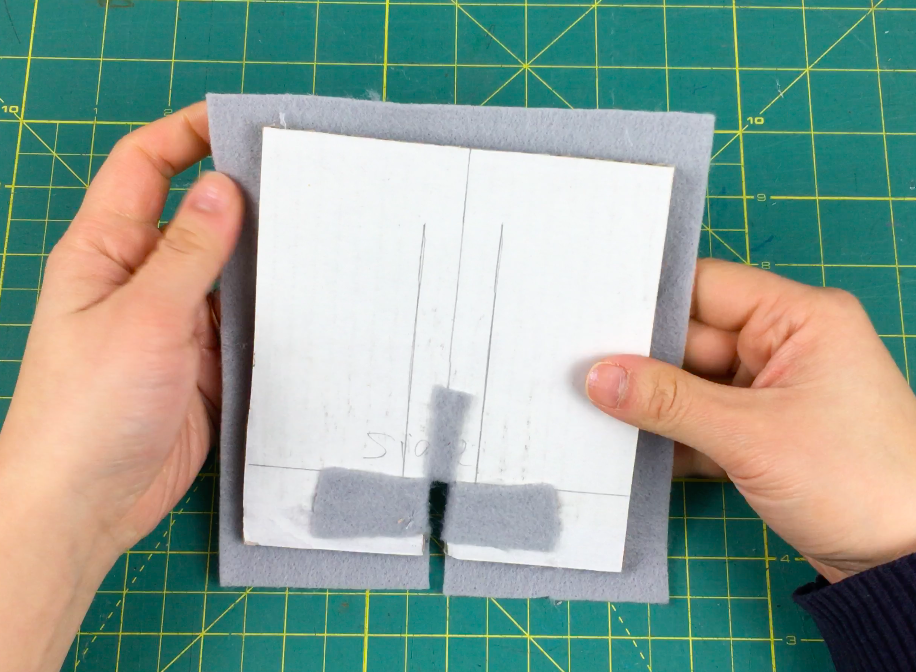
1. Making toaster controlled button


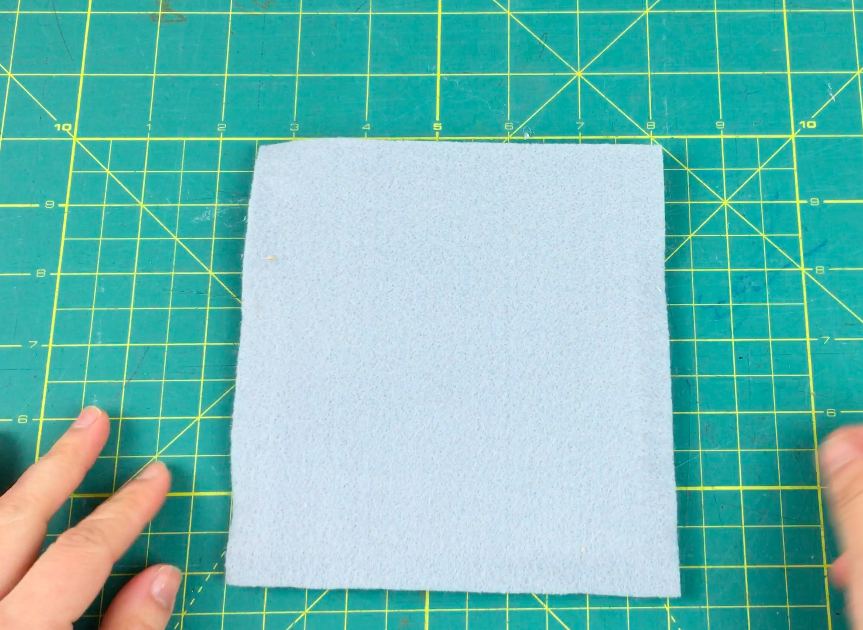
2. The top part of the toaster


3. The right side of the toaster


4. The left side of a toaster


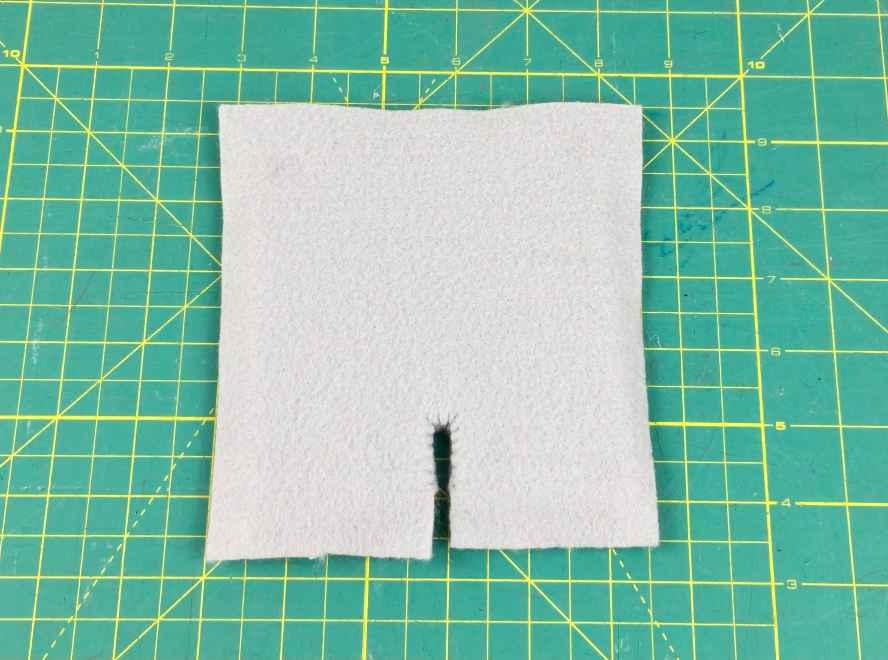
5. The bottom part of the toaster


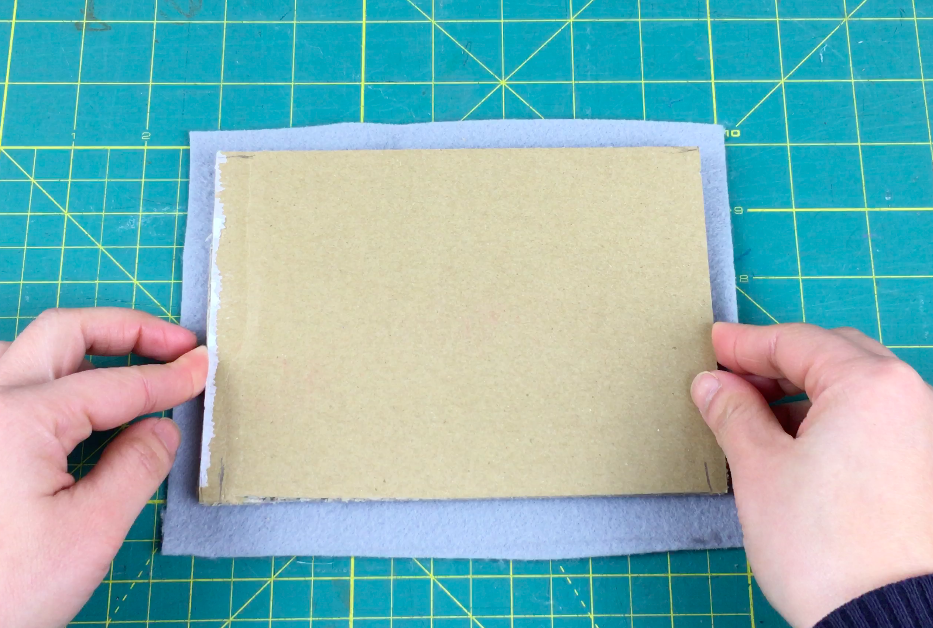
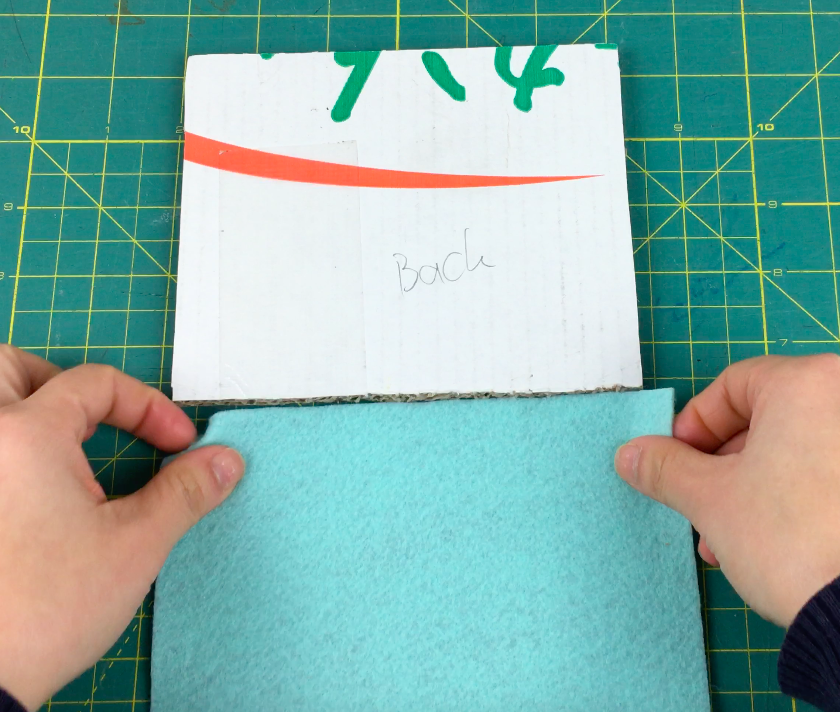
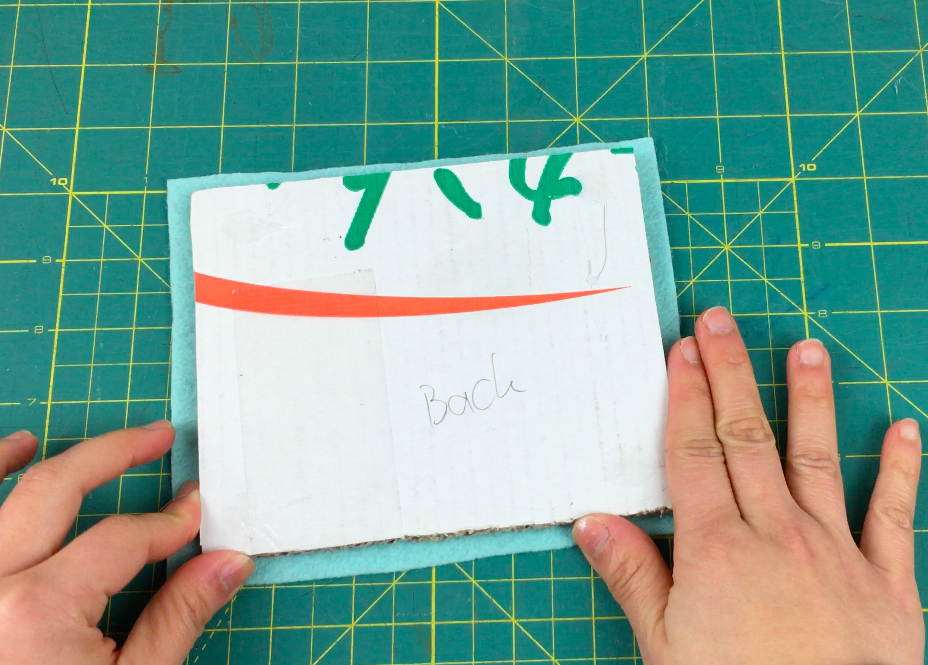
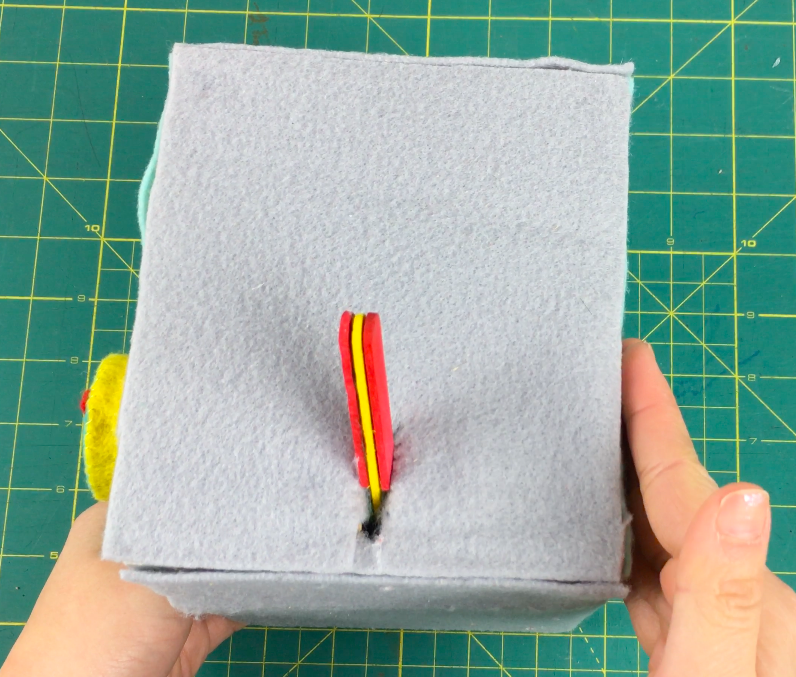
6. The Back of toaster


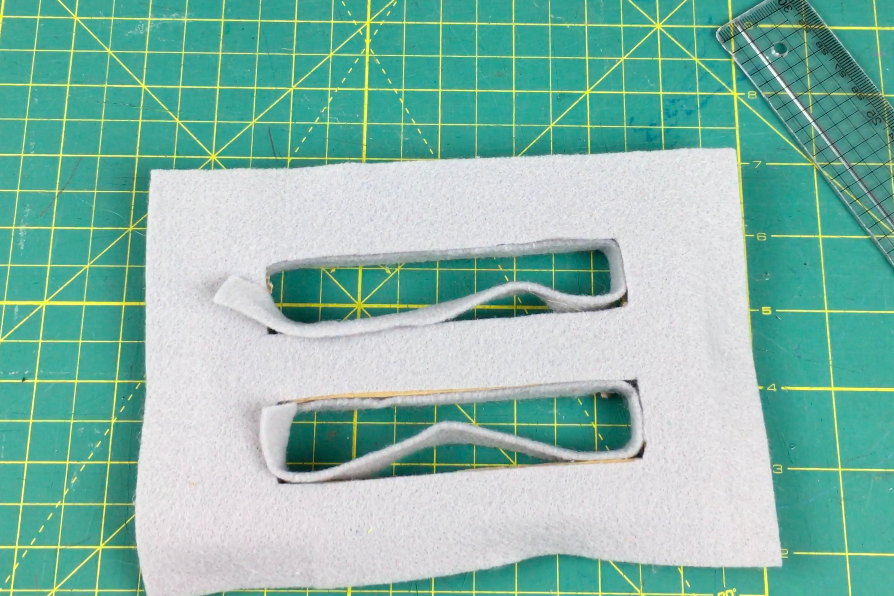
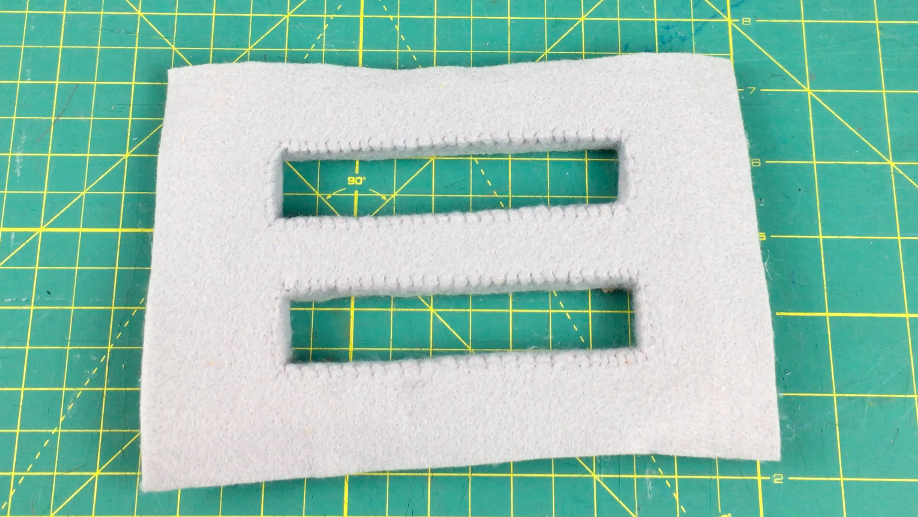
7. Lever part inside the toaster


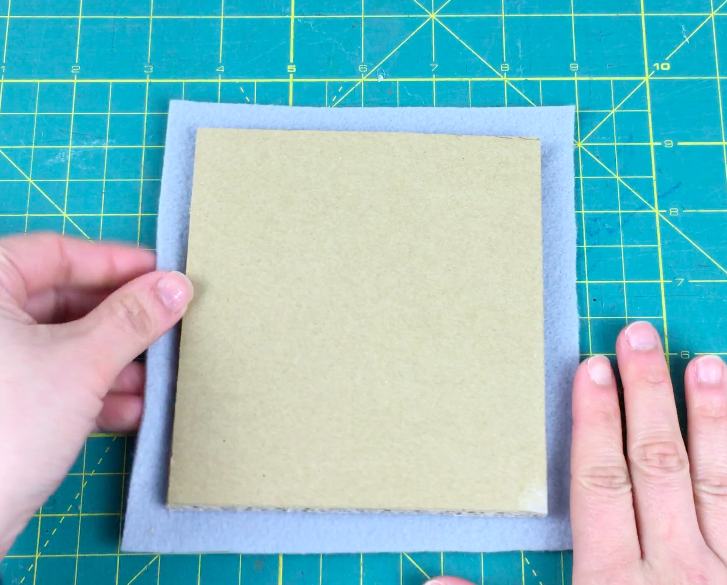
8. Hot Glue toaster together and trim


9. whip stitch all around the edges

DONE!
FRONT

BACK

TOP

BOTTOM
LEFT SIDE