
Easy Peasy Felt Coat & Beret Hat
- Bankky N.

- Apr 6, 2020
- 2 min read
Updated: Sep 24, 2023

I love to work with felt its inexpensive material and very easy to sew with and no need to worry about raw-edged. Normally I don't use felt for doll clothes but because I want to get rid of the big piece of felt dark green one that I own for a while somehow the color makes me sad, so I think hard and come up with the idea of ..."I wonder how fast I could sew something cute for the doll with this miserable green?" Snip snap with my magic wand and sewing machine...an hour later I made these cute little coats and beret! I'm surprised how well it turned out!
Well, in the end, the green felt doesn't make me sad anymore instead it's giving me a great idea to make very cute and easy coats, Thanks green felt and I'm sorry I said you were miserable.

Video Tutorial
NOTE
Felt for the 18 inch doll you will need about 18”x23” and for 14” dolls 14”x17”
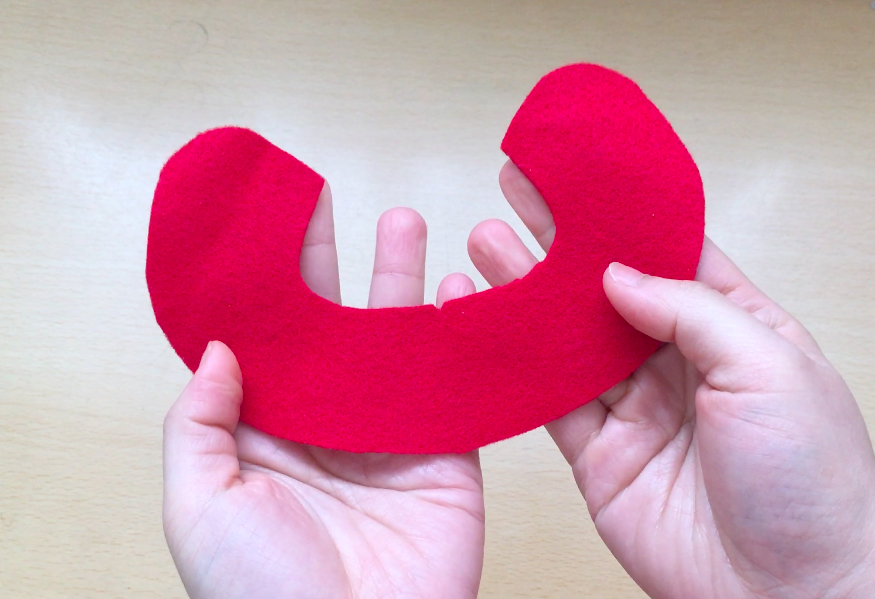
The bodice and sleeves of this coat are cut in one piece
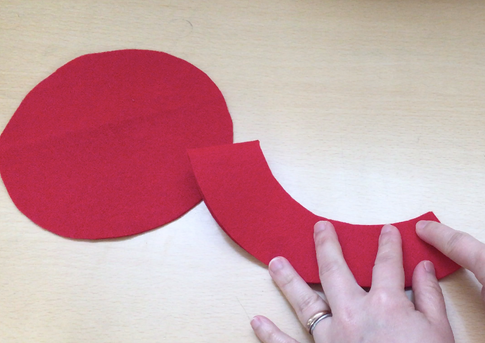
For coat fold felt in half and half again and cut then cut the opening at the center front
To find center of the piece fold the fabric in half then make a little clip to make a notch.
Use 1/4” seam allowances


Cut out all the pieces.

1. Pin the collar on the coat neckline matching notch on the center; stitch.


2. Fold seam allowances toward the bottom of the coat; on the right side edgestitch along the seam line.


3. Fold the coat in half matching the front and sleeves edge together; pins and stitch.


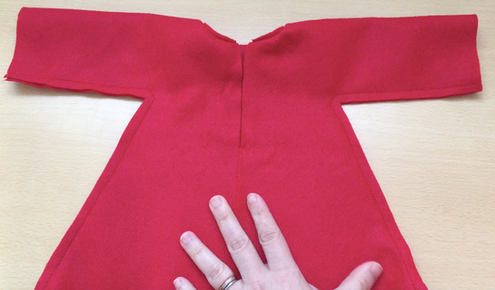
4. Clip the corner at underarm; turn the coat right side out. The basic coat is done!


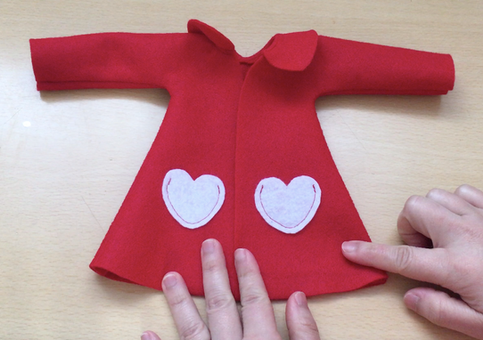
Optional: Pockets
Heart pockets
Heart pockets


Square pockets


Embroidery with beads

You also can make a tie with ribbon and beads.

Sewing Beret
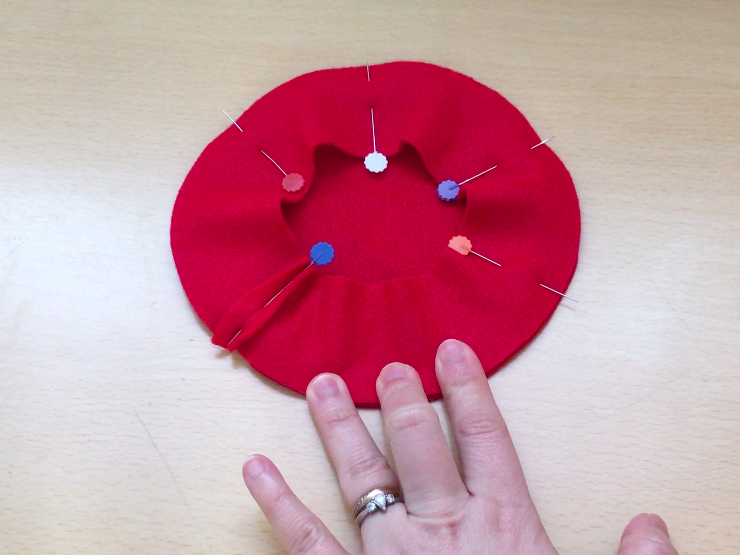
1. Fold Stitch beret sides together.

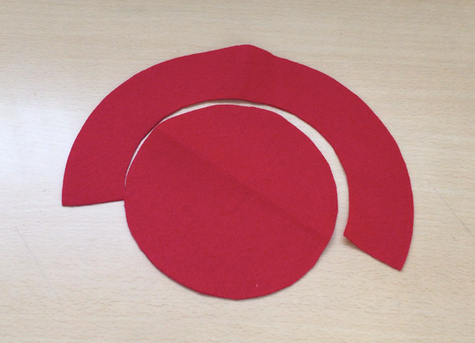

2. Pin beret sides to the top beret and stitch in a circle; turn beret right side out.
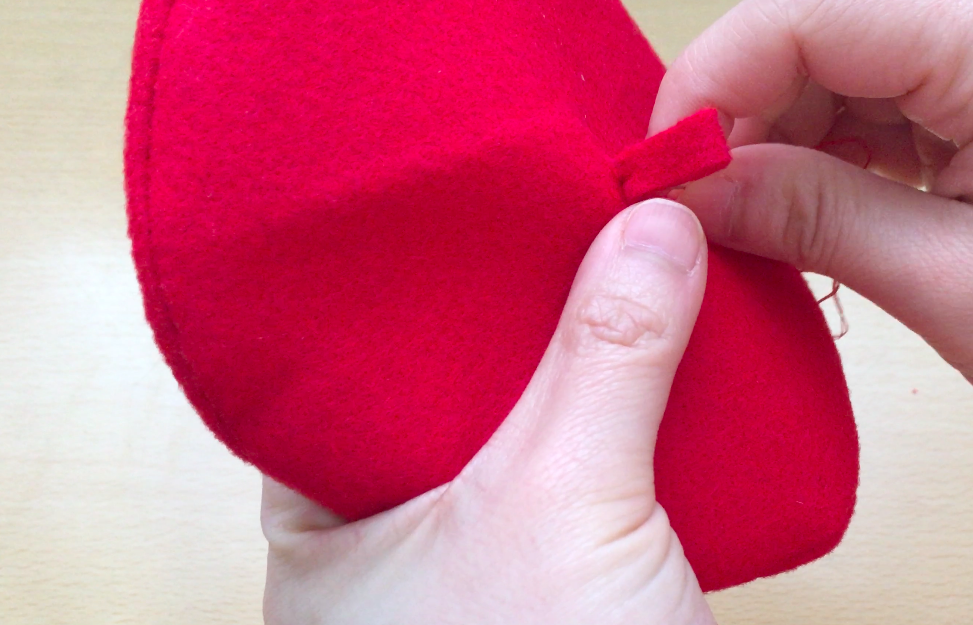
Make small pompom or Cut out a strip of felt to make stem; Stitch to the center of the top of the beret.


Done!


Was this tutorial helpful? Consider buying me a cup of coffee! Venmo Me @Bankky-Nomoto
It will help cover the costs around here and encourage more free patterns and tutorial


