
Little Yoke Dress tutorials for 14" and 18" dolls with free printable Patterns
- Bankky N.

- Feb 9, 2020
- 2 min read
Updated: Jan 11, 2023

Video Tutorial
Point Lessons and tips for yoke dress.
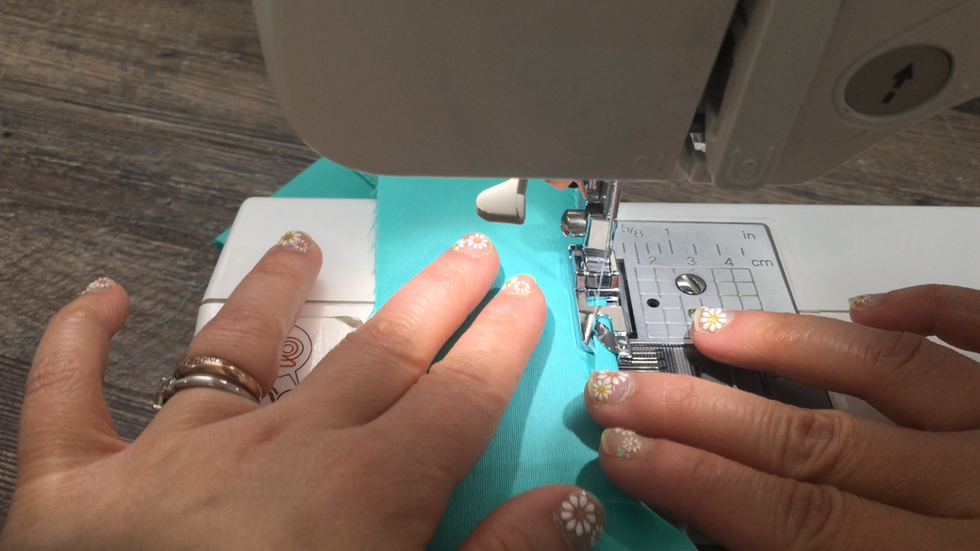
Finish the seam with a serger or zigzag stitch.
fold along the marking line for the front and unfold for the back dress.
Yoke cut on fold then cut the right side off (the right side is supposed to be shorter than the left)
Uses 1/4” seam allowances.
I used a 1/4” roll hem sewing foot to hem the ruffle.
For faster sewing, I used a 1/4” roll hem sewing foot.
Finish the seam with a serger or zigzag stitch.
Placket Piece fold down 3/8” and press; set aside
Trace all the pattern markings I use a water erasable pen.
Cut all the pieces according to the patterns.

1. Skirt ruffle Hem; Fold 1/4” then turn under again by the same amount and topstitch.
* for faster sewing I used 1/4” roll hem sewing foot.


2. Make two rows of stitches along the edge pull-up gathering to match up with the front dress edge, pin, stitch; press seam allowance towards the top of the dress. do the same for the back of the dress.


3. Back of the dress placket; Stay stitch 1/8” from the marked opening line and cut along the line.


3.1 working with the wrong side; Pin placket and sew across the end of the opening split.


3.2 Press and fold over the placket just over the line of stitching and edge stitch the placket down so that it covers the previous row of sewing.


4. Pin front and back dress sections together at sides; stitch.


5. Open up the double-fold bias tape then sandwich it around the edge of the armholes pin and topstitch.


6. Stitch 1/4" away from the outer edge of the yoke facing; press along with the stitch.

7. With the Yoke and facing right sides together, pin and stitch with 1/4" seam allowances, Clip curves be careful not to cut into the stitch. Turn right side out; press.


8. Matching the marking points on the yoke to front and back of the dress, pin, and stitch. *Right side of back dress placket will fold under and the other(left) will extend.


9. Open the yoke; through the armholes bring back of the dress over into the middle of the yoke then match marking point between the front yoke and yoke facing; pin and stitch.


10. Pull back of the dress out of the yoke; turn the wrong side out and slip stitch to close yoke facing opening.


11. For fastening; use snaps or Pin Velcro and stitch on the back of the dress.


Done!


Was this tutorial helpful? Consider buying me a cup of coffee! Venmo Me @Bankky-Nomoto
It will help cover the costs around here and encourage more free patterns and tutorial


