


DIY Felt Strawberry Hat for 14&18" Dolls 🍓 | FREE Sewing Pattern

Updated: Sep 27

Looking for a cute and easy doll costume idea? 🍓💕
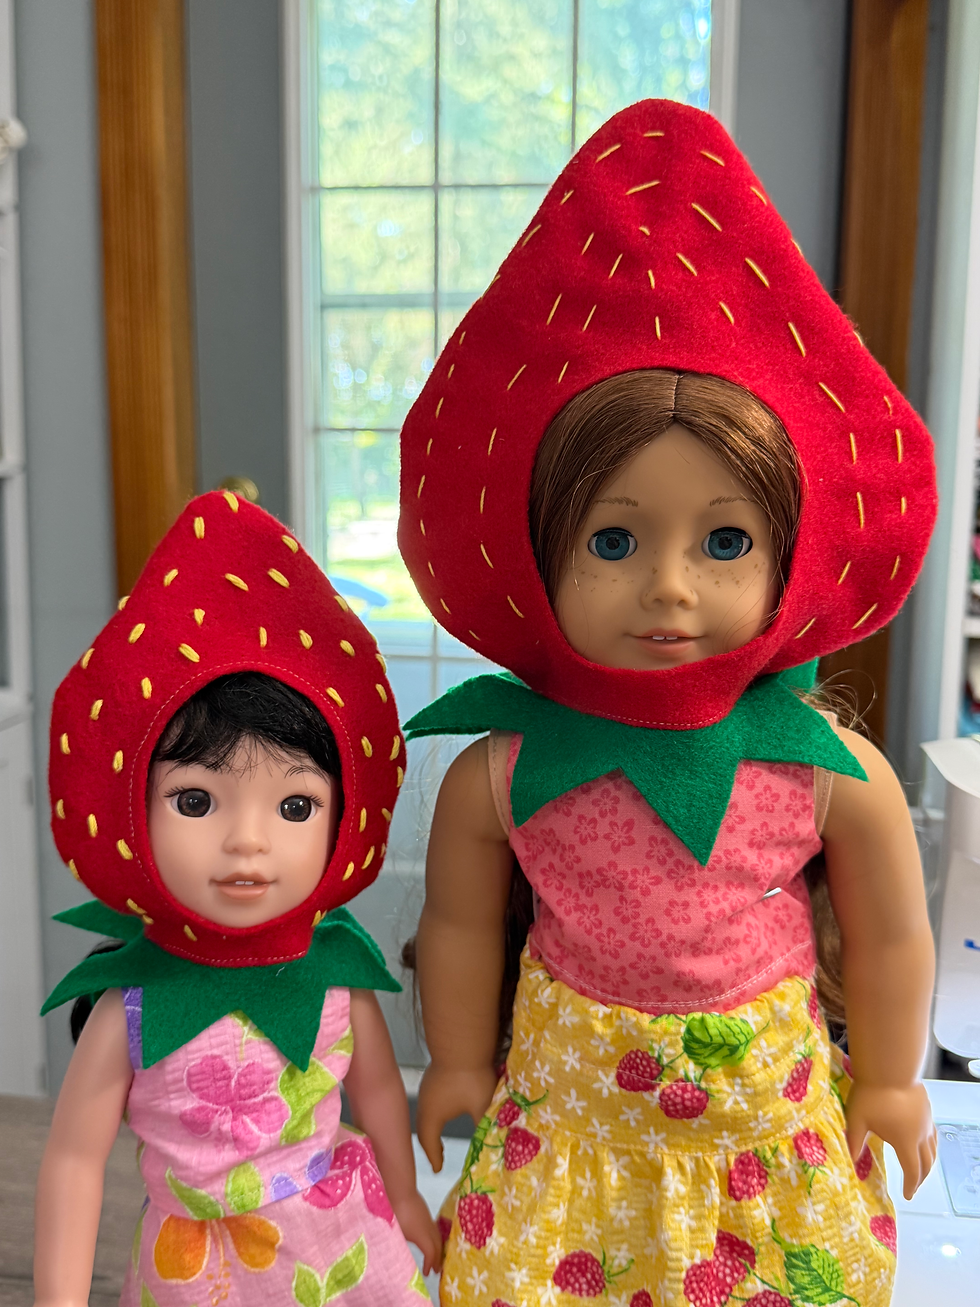
Let’s make an adorable Felt Strawberry Hat for an 14" & 18" doll!
This little hat is made by turning a strawberry upside down—the green calyx becomes the bottom of the hat. 🍓 It’s such a fun design, and because we’re using felt, there’s no need to worry about finishing raw edges.
I added little strawberry seeds using yellow thread and a simple running stitch, which gives the red felt a cute pop of contrast.
Make yours in traditional strawberry red, sweet pink, or whatever color you have in your felt stash!
🎁Free Printable patterns and video tutorial at the bottom of the page!
🧵 Materials You’ll Need
Red or pink felt
Green felt
Yellow thread or embroidery floss
Matching sewing thread
Sewing machine
Hand-sewing needle
Scissors
Pins or sewing clips
Velcro / hook-and-loop tape — optional
FREE Strawberry Hat pattern

Shop My Sewing Favorites
Want to peek inside my sewing basket? Visit my Amazon storefront to browse my favorite sewing supplies, craft essentials, and handy tools for your next project.
As an Amazon Associate I earn from qualifying purchases.
Print and cut out the pattern pieces

🪡 Cutting Guide

🍓 Sewing Instructions
Step 1 – Prepare the Strawberry Back


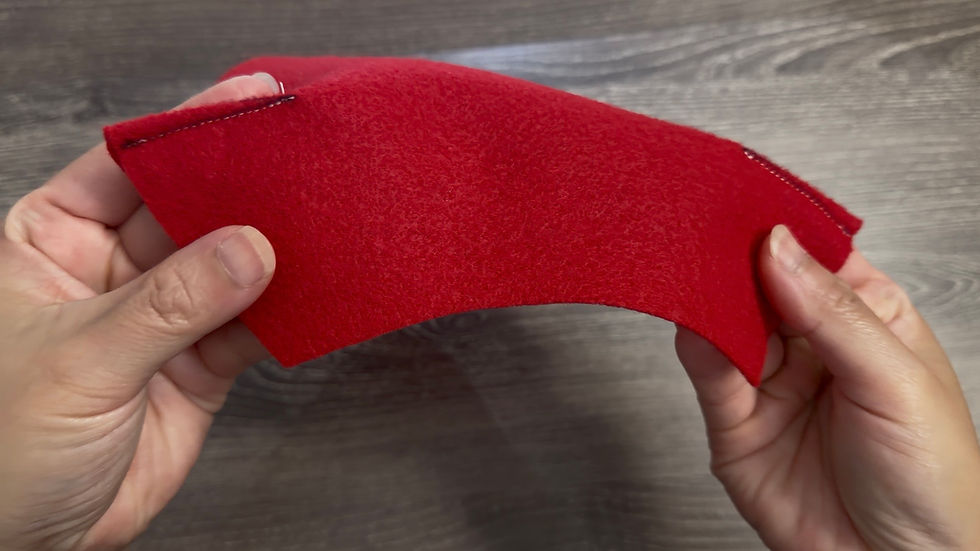
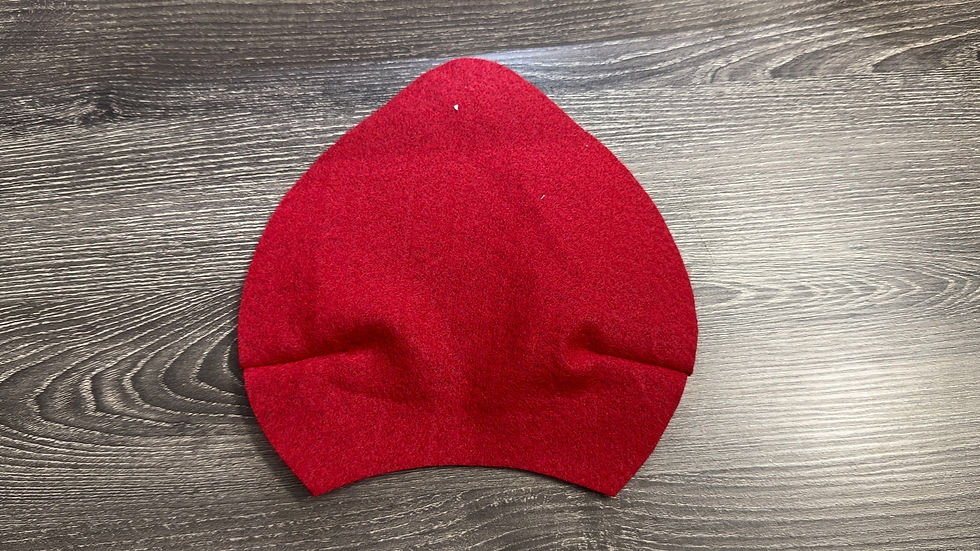


Step 2 – Add the Strawberry Seeds
***Option additional Step***


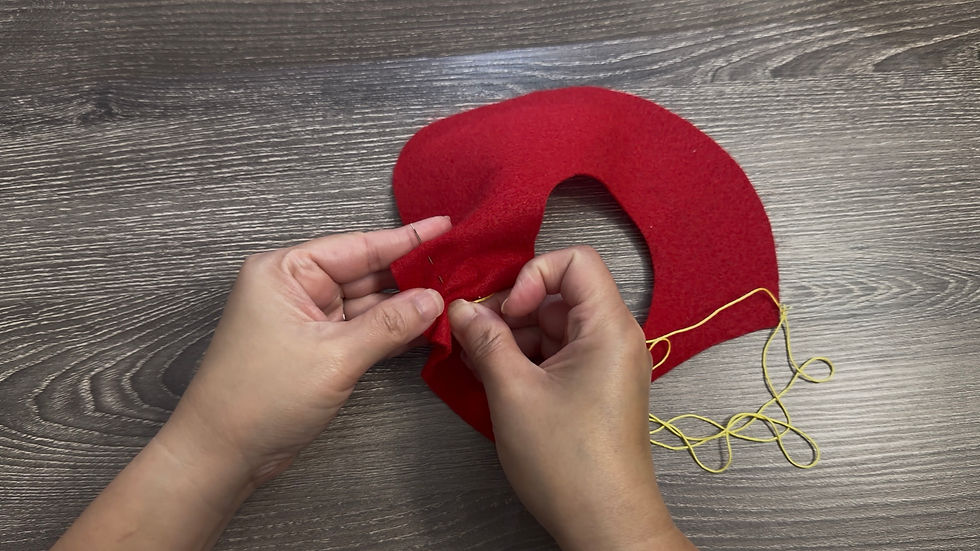
These little stitches create the strawberry seeds and add a cute contrasting detail

Step 3 – Sew the Strawberry Together


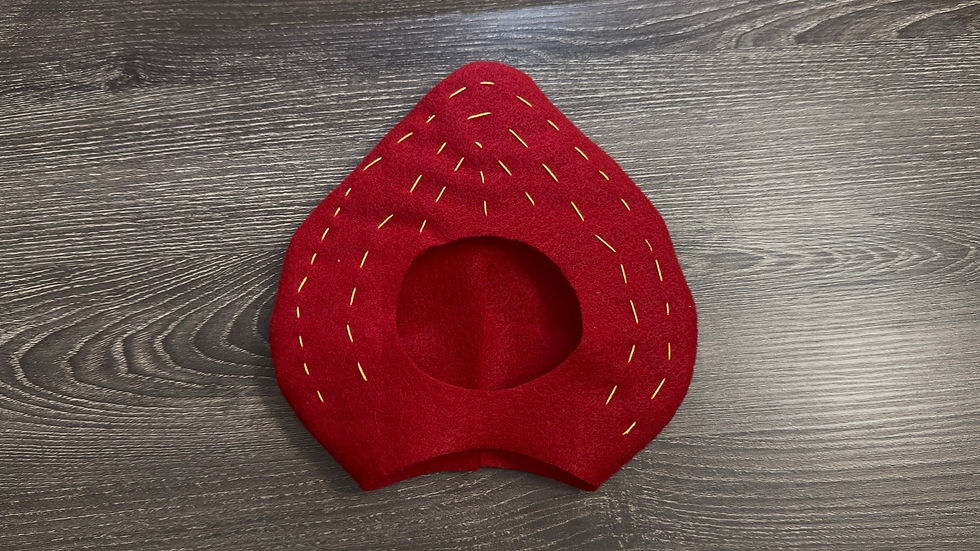
Step 4 – Attach the Green Calyx


Step 5 – Topstitch

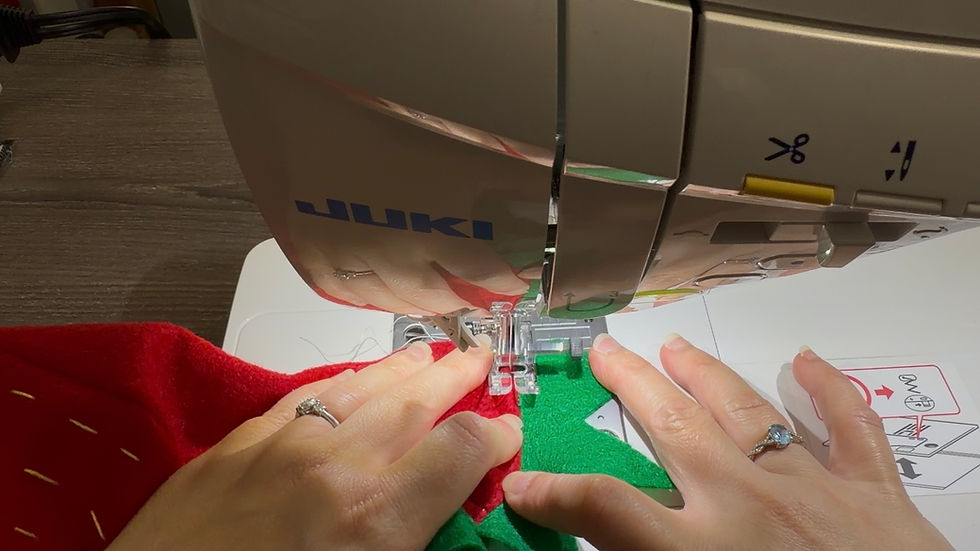


Step 6 – Optional Velcro
This step is completely optional. I found that the strawberry hat works well without the Velcro too!


🍓 Your Strawberry Hat Is Finished!


And that's it! Our adorable Upside-Down Strawberry Hat is ready to wear. 🍓💕
Make yours in red, pink, or another fun color. This would make such a cute accessory for a doll's Halloween costume, a spring outfit, or simply for some strawberry-themed fun. 🎃🌸

🎥 Watch the Video Tutorial
I hope you enjoyed this tutorial! See you in the next one—happy crafting!

Was this tutorial helpful? Consider buying me a cup of coffee!
It will help cover the costs around here and encourage more free patterns and tutorial

14" dolls Free Printable pattern Here!
18" dolls Free Printable pattern Here!
PATTERNS POLICY
Please feel free to use the patterns as you like and you don’t have to to give me any credit if you don’t want to, I just want to create patterns that are free and available for everyone, It’s will be my Honor if my creativity can be helpful to you in any way☺️

Thanks for stopping by
and allowing me to share a little of my passion
I Hope You Have a Lovely day!
And don't forget to Do more of what makes you happy!
HAPPY BANKKY / CRAFTY MOM


