


Easy Sock Leggings for an 18″ Doll — Free Sewing Pattern


Turn a pair of socks into a cute pair of leggings for your 18″ doll! 🧦💕 This project is simple, affordable, and a fun way to use those cute socks you find at store.
The sock cuffs become the waistband, so there’s no separate waistband or elastic to add. With just a few seams, your doll will have a comfy new pair of leggings to wear with her favorite tops!
🎁Free Printable patterns and video tutorial at the bottom of the page!
What You’ll Need
A pair of stretchy socks
Free sock leggings pattern for an 18″ doll
Matching thread
Sewing machine
Fabric scissors
Fabric marker or chalk
Pins or clips
Choose socks with enough length and width to fit the pattern. Different socks have different amounts of stretch, so the fit may vary slightly.

Shop My Sewing Favorites
Want to peek inside my sewing basket? Visit my Amazon storefront to browse my favorite sewing supplies, craft essentials, and handy tools for your next project.
As an Amazon Associate I earn from qualifying purchases.
Step-by-Step Sewing Instructions
Print and cut out the pattern pieces

1. Trace and Cut the Pieces


2. Sew the Crotch Seams


3. Align and Pin the Legs
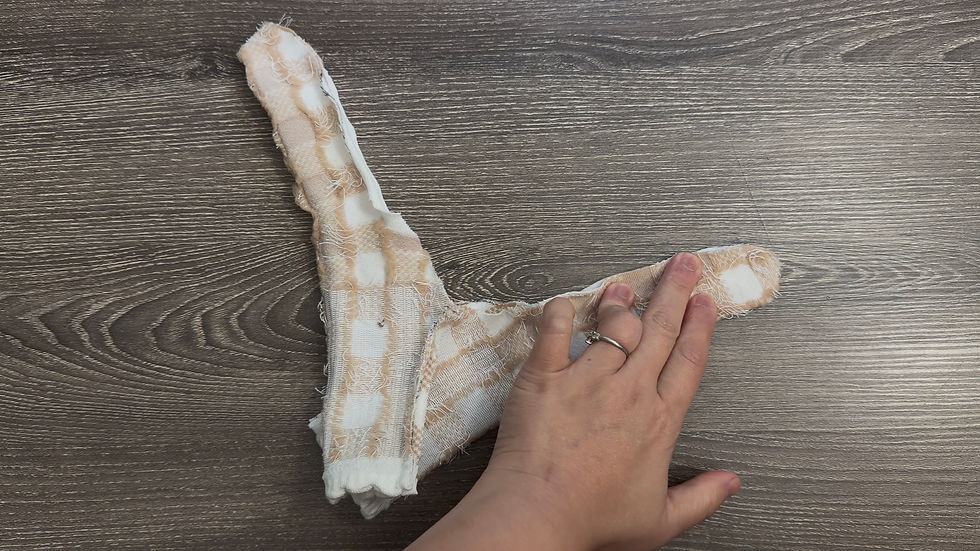
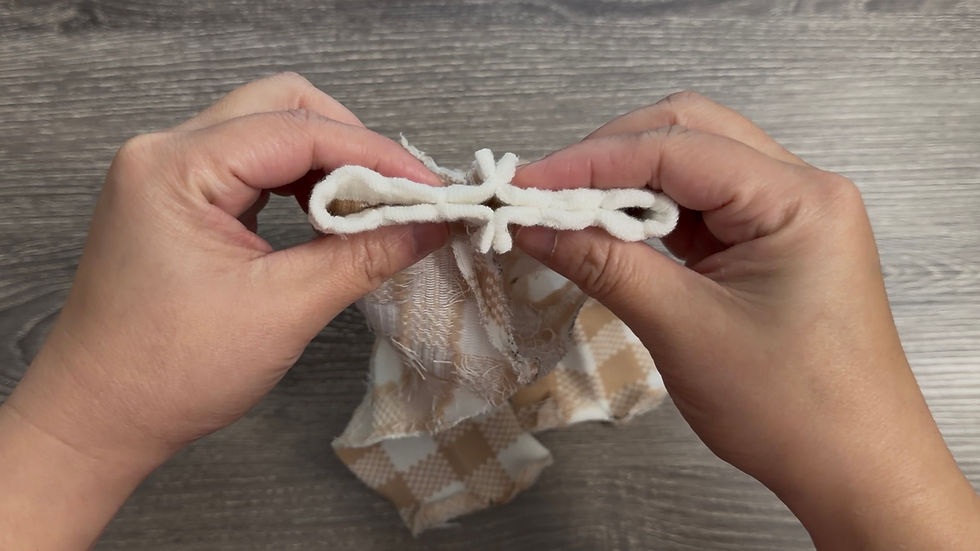
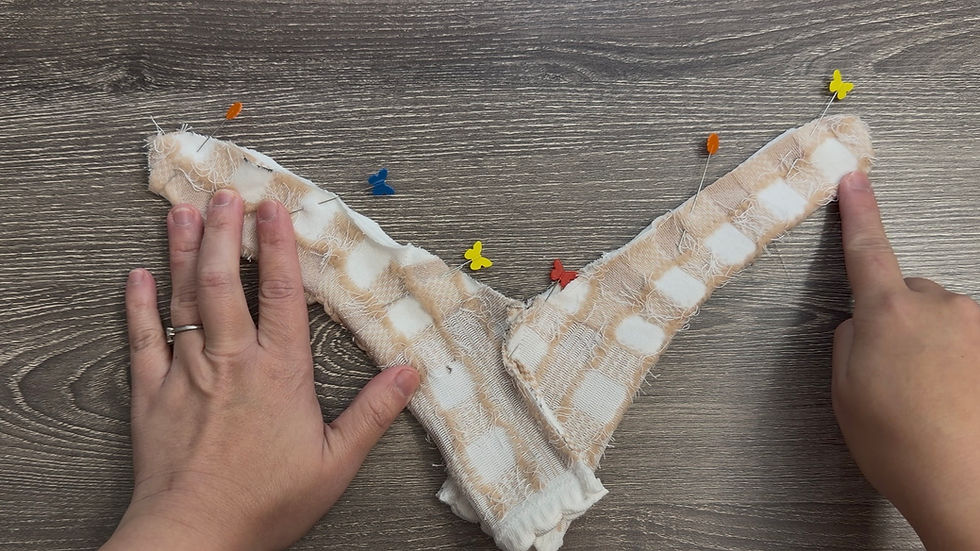
4. Sew the Inner Legs


5. Turn Right Side Out


A Few Helpful Tips
Check the stretch. Socks that stretch well around the doll’s body will be easier to put on.
Let the machine feed the fabric. Avoid pulling the sock as you sew, which can make the seams wavy.
Match the crotch seams. Pinning the center first helps keep the legs aligned.
Have fun with prints! Stripes, little hearts, or colorful socks can give the same pattern a completely different look.
These leggings are perfect for a casual outfit or a cozy pajama look. Pair them with a doll T-shirt or tank top, and you have a sweet little outfit made from socks!
Happy sewing!
HappyBankkyCraftyMom
🎥 Watch the Video Tutorial
I hope you enjoyed this tutorial! See you in the next one—happy crafting!

Was this tutorial helpful? Consider buying me a cup of coffee!
It will help cover the costs around here and encourage more free patterns and tutorial

18" dolls Free Printable pattern Here!
PATTERNS POLICY
Please feel free to use the patterns as you like and you don’t have to to give me any credit if you don’t want to, I just want to create patterns that are free and available for everyone, It’s will be my Honor if my creativity can be helpful to you in any way☺️

Thanks for stopping by
and allowing me to share a little of my passion
I Hope You Have a Lovely day!
And don't forget to Do more of what makes you happy!
HAPPY BANKKY / CRAFTY MOM


