top of page

Doll Sewing 101: Start with the Basics – Episode 2 – Doll Bra

  • Writer: Bankky N.
    Bankky N.
  • 55 minutes ago
  • 3 min read
 HB62 Doll Sewing 101: Start with the Basics – Doll Bra
HB62 Doll Sewing 101: Start with the Basics – Doll Bra

Welcome back to Doll Sewing 101: Start with the Basics!

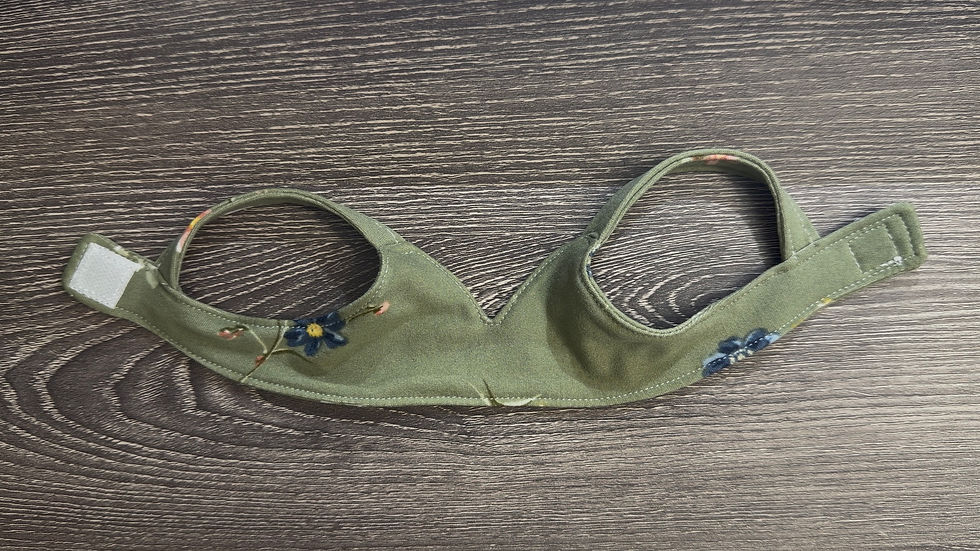
This is Episode 2, and today we’re making something every doll wardrobe needs: a simple, cute, beginner-friendly doll bra. This project is perfect if you’re just starting your sewing journey or want a quick, satisfying make between bigger projects.


Whether you sew for 14-inch dolls (like WellieWishers) or 18-inch dolls (like American Girl), I’ve included free printable PDF patterns for both sizes so you can sew along at home.


Let’s get started! ✂️💕


🎁Free Printable patterns at the bottom of the page!


HB62 Doll Sewing 101: Start with the Basics – Doll Bra

HB62 Doll Sewing 101: Start with the Basics – Doll Bra

Supplies You’ll Need


  • Free Doll Bra Patterns – download link below

  • Stretch fabric (cotton knit, jersey, or old t-shirts)

  • Needle and matching thread

  • Small piece of Velcro or snaps

  • Sewing machine

  • Scissors

  • Heat Erasable Fabric Marking Pens (buy here)

  • Optional: bow, or small button for decoration  (buy here)

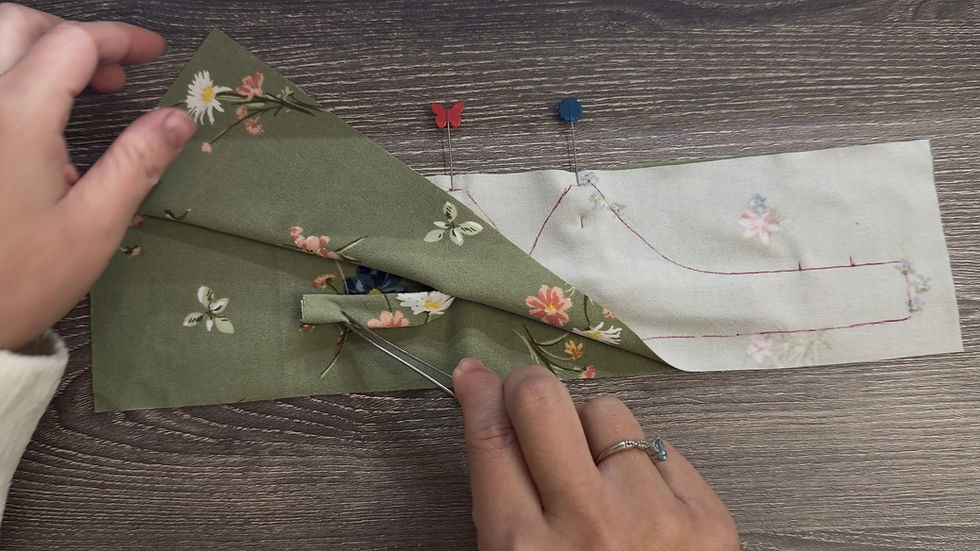
  • Loop Turner Sewing Tool  (buy here)

  • Locking Clamp  (buy here)


Video Tutorial coming soon!


Notes:

- For (A) Wide Strap cut 2 fabric on fold.

- For (B) Spaghetti Strap cut 2 single pieces

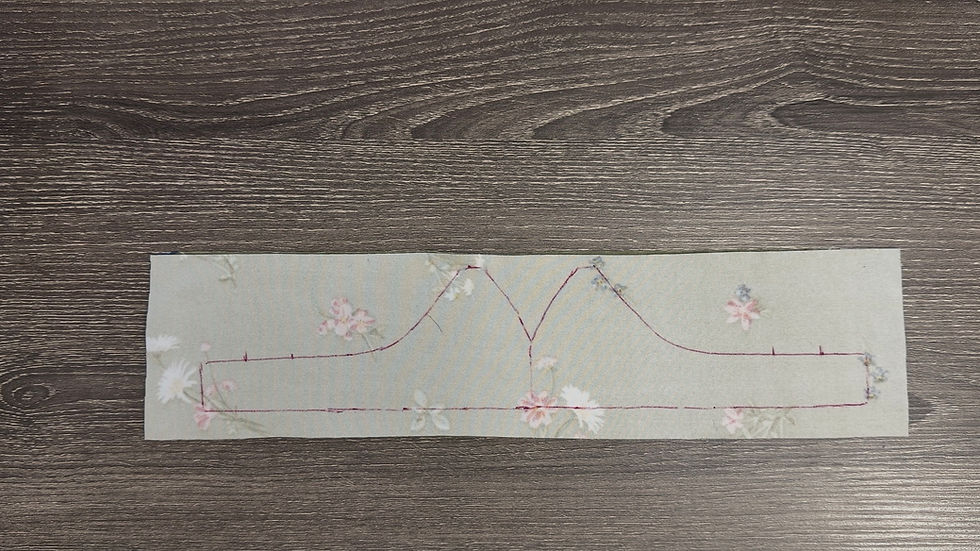
- For Bra body cut 2 rectangles ( 18" doll cut 12"x 3" ) For ( 14" doll cut 8"x 2" )


🪡 Step-by-Step Instructions


Step 1: Prepare  Fabric


1. Cut two rectangles, one for the front and one for the lining.


2. Lay the bra body pattern on top and trace around it with fabric chalk or an erasable pen.


2.1 Flip the pattern and trace the other side.

2.2 Mark 2 opening
2.2 Mark 2 opening


3. Place both pieces right sides together.


Step 2: Make the Straps


1. Wide Straps:


Cut 2 strap pieces on fold.

Mark 1/4 seam allowance


Sew along the long edge


Turn right side out
Turn right side out


And press flat.
And press flat.


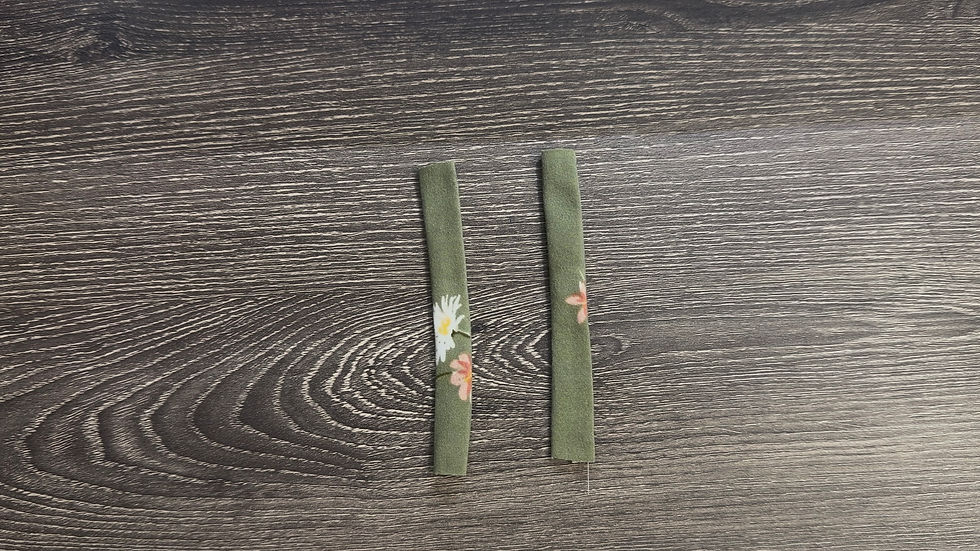
2. Spaghetti Straps:


Cut 2 single pieces.

Fold each lengthwise, sew a narrow seam.


Turn right side out.


ree


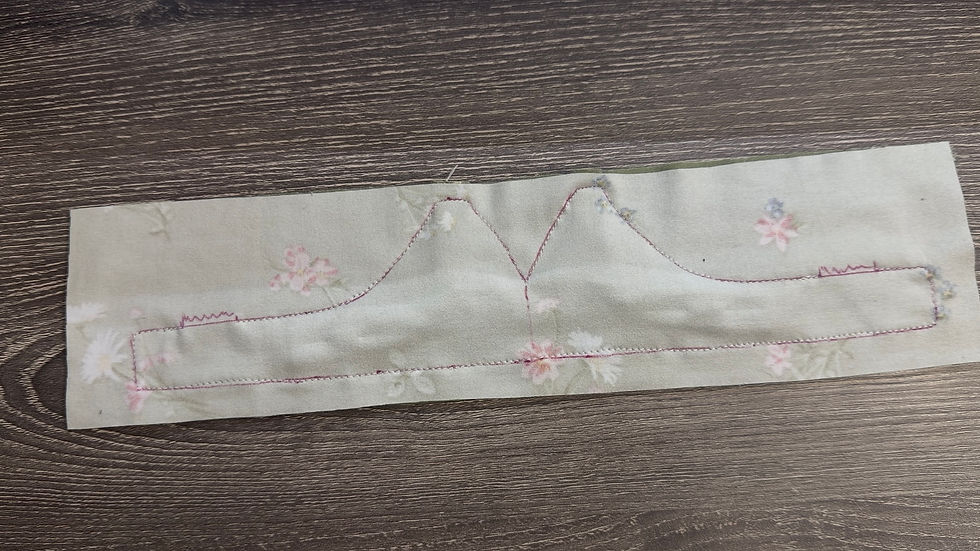
Step 3: Insert Front Straps


1. Slip the front ends of the straps between the layers at the top front corners of the traced bra.

2. Make sure the straps point inward and the loose ends are tucked inside.


3. Pin securely.
3. Pin securely.


Step 4: Sew the Bra Body


1. Sew along the traced line, leaving the back strap spots open (do not sew over them).


2. Trim seam allowance and clip curves.

2.1 After trim the seam allowance.
3. Turn right side out through one of the strap openings.


3.1 After turn right side out.


Step 5: Closure


Pin and Sew on Velcro or attach snaps for the closure.

After Sew on Velcro.

Step 6: Attach Back Straps


1. Tuck the back ends of the straps into the openings you left.


1.1
1.1

2. Pin in place and check the fit on your doll.

3. Topstitch around the edges to secure the straps and finish the edge neatly.


3.1 After topstitch.


Step 7: Decoration


Add a small bow, button, or lace at the center front for a cute finishing touch 💖

Your doll bra is ready! 💕
Free Pattern HB62 (HappyBankkyCraftyMom)


Free Pattern HB62 (HappyBankkyCraftyMom)

🌟What’s Next in Doll Sewing 101?


Episode 3 will cover another must-have basics clothing item. Stay tuned if you want to build a full capsule wardrobe for your 14” and 18” dolls.


💡 Share your creations tag me on Youtube Facebook Instagram or TikTok using #happybankkycraftymom so I can see your doll sewing journey!


I hope you enjoyed this tutorial! See you in the next one—happy crafting!


ree

Was this tutorial helpful? Consider buying me a cup of coffee!

It will help cover the costs around here and encourage more free patterns and tutorial


ree

Free Printable pattern Here!


ree

Thanks for stopping by

and allowing me to share a little of my passion

I Hope You Have a Lovely day!

And don't forget to Do more of what makes you happy!

HAPPY BANKKY / CRAFTY MOM

Don't Miss Out

Sign Up For More Craft Project!

©2024 by HAPPY BANKKY / CRAFTY MOM created with Wix.com

bottom of page