top of page

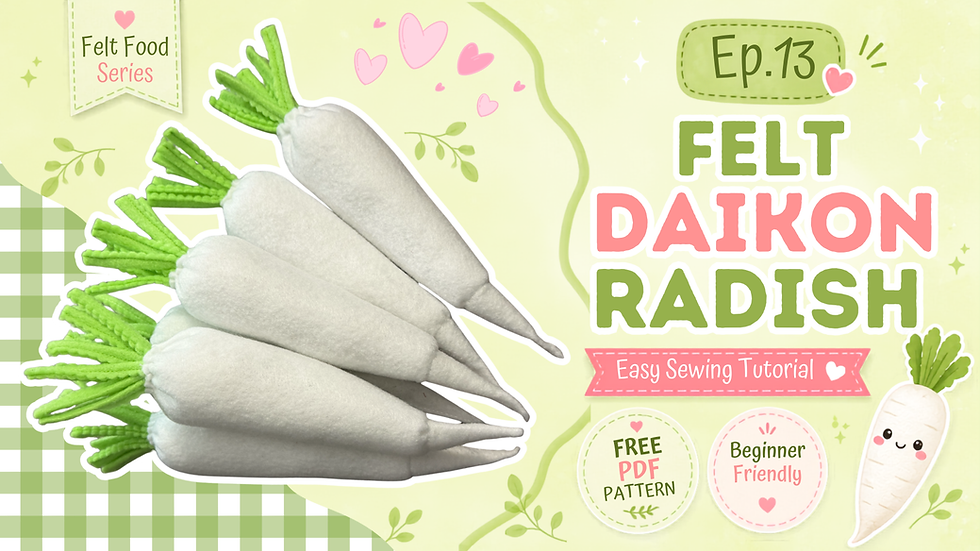
Felt Food Series Ep.13 Daikon Radish

  • Writer: Bankky N.
    Bankky N.
  • 2 hours ago
  • 3 min read

If you’re looking for a quick and adorable felt project, you’re going to love today’s tutorial! Welcome to Felt Food Series Episode 13, where we’re making a sweet little Felt Daikon Radish.

This beginner-friendly project is easy to sew and makes a wonderful addition to any pretend play kitchen, toy grocery store, farmers market, or Montessori-inspired play set. It also pairs perfectly with the other vegetables in the Felt Food Series, allowing you to build your own handmade felt garden one project at a time.


🎁Free Printable patterns at the bottom of the page!


📺 Watch the Full Video Tutorial


Pattern pieces


Pattern pieces HB73
Pattern pieces HB73


✂ Cutting Guide


1. Daikon Body cut 1

2. Daikon tail cut 1

3. Daikon Stems cut 4


Cutting Guide
Cutting Guide


🧵 Materials


Materials
Materials

• White felt (BUY HERE)

• Green felt (BUY HERE)

• Embroidery floss/thread

• Polyfill stuffing  (BUY HERE)

• Sewing machine

• Hand-sewing needle

• Pinking Shears Scissor (BUY HERE)

• Pins or clips (optional)


Felt Daikon Radish Instructions


Step 1 – Make the Stems


Fold each stem piece in half lengthwise.


Stitch along the open long edge.


Trim the stitched edge with pinking shears.


Make 4 stems
Make 4 stems

Step 2 – Assemble the Stems Bundle


Fold the stem in half.


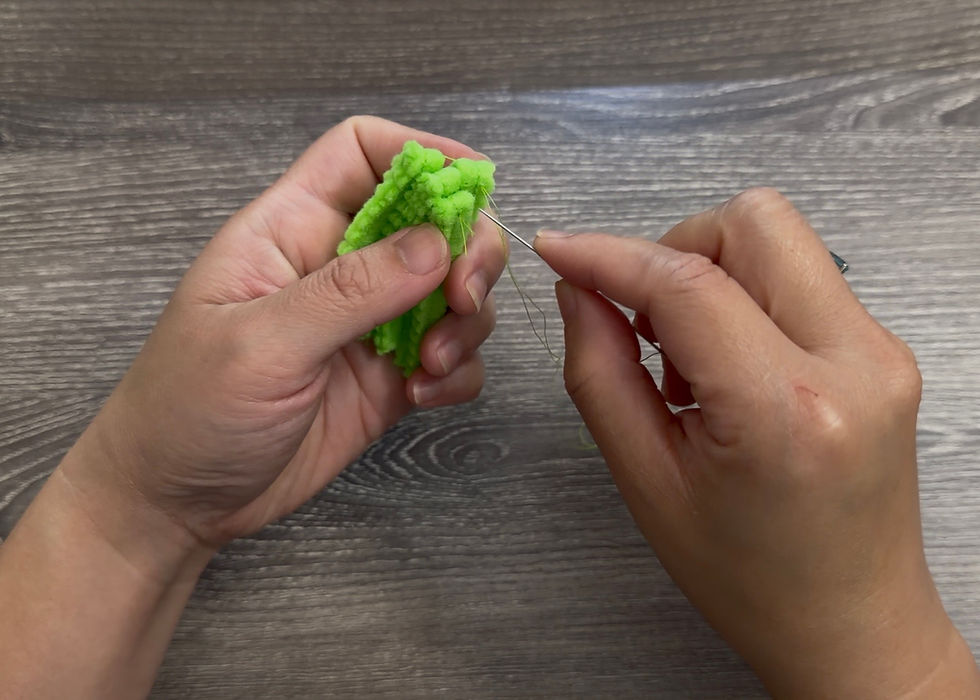
Arrange the finished stem together to form one bundle, stitch to secure.


Set the stem aside.
Set the stem aside.


Step 3– Sew the Body


Daikon body piece.
Daikon body piece.


Fold the body in half with the right sides together.


Stitch the side seam using a 1/8 in. (0.2 cm) seam allowance, leaving both the top and bottom openings open.


Step 4 – Attach the Tail


The tail piece.
The tail piece.


Fold the tail piece in half with the wrong sides together, Stitch along the long edge.


Insert the tail into the bottom opening of the body. (A)


Insert the tail into the bottom opening of the body. (B)


Stitch around the opening to secure the tail. (A)


Stitch around the opening to secure the tail. (B)


Step 5 – Turn and Stuff


Turn the daikon right side out.


Stuff firmly with polyester fiberfill.


After Stuff  with polyester fiberfill.
After Stuff with polyester fiberfill.


Sew a running stitch around the top opening.


Step 6 – Add the Stems


Insert stems bundle into the top opening and  Pull the gathering thread to close the opening around the stems
Insert stems bundle into the top opening and Pull the gathering thread to close the opening around the stems


 Stitch around the top several times and knot securely.
Stitch around the top several times and knot securely.


Your felt Daikon radish is finish!


This daikon radish is the newest addition to the Felt Food Series. Mix and match it with carrots, beets, eggplants, and many more felt vegetables to create your own colorful pretend vegetable garden.

Each project is designed to be beginner friendly while helping you build your sewing skills one adorable felt food at a time.


Watch the Full Tutorial

Watch Felt Food Series Ep.13 – Felt Daikon Radish on my YouTube channel and sew along with me step by step.


Was this tutorial helpful? Consider buying me a cup of coffee!

It will help cover the costs around here and encourage more free patterns and tutorial


Free Printable pattern Here!


PATTERNS POLICY

Please feel free to use the patterns as you like and you don’t have to to give me any credit if you don’t want to, I just want to create patterns that are free and available for everyone, It’s will be my Honor if my creativity can be helpful to you in any way☺️


Thanks for stopping by

and allowing me to share a little of my passion

I Hope You Have a Lovely day!

And don't forget to Do more of what makes you happy!

HAPPY BANKKY / CRAFTY MOM

Don't Miss Out

Sign Up For More Craft Project!

©2024 by HAPPY BANKKY / CRAFTY MOM created with Wix.com

bottom of page