


How to Make a Double Bow Headband for a Porch Goose and Doll


Welcome to Episode 12 of my Porch Goose Sewing Series!
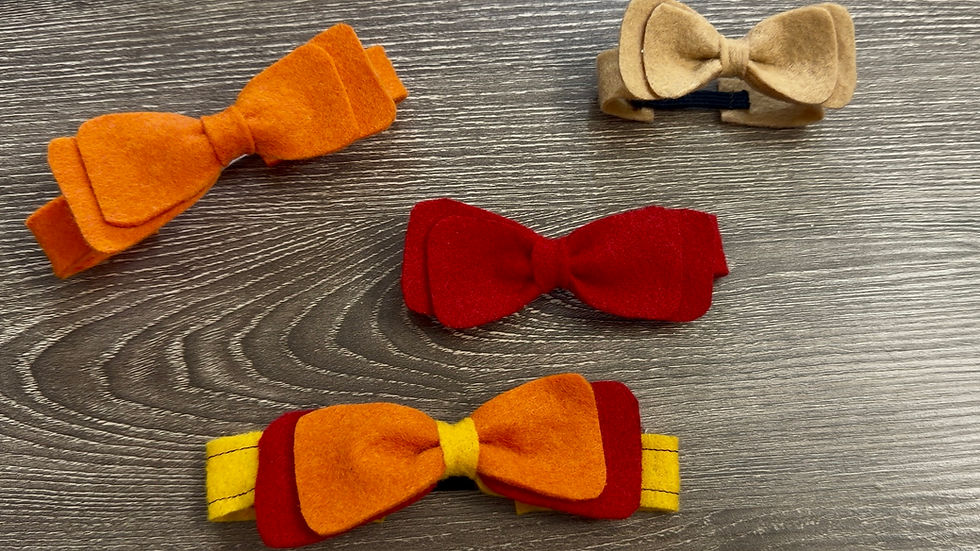
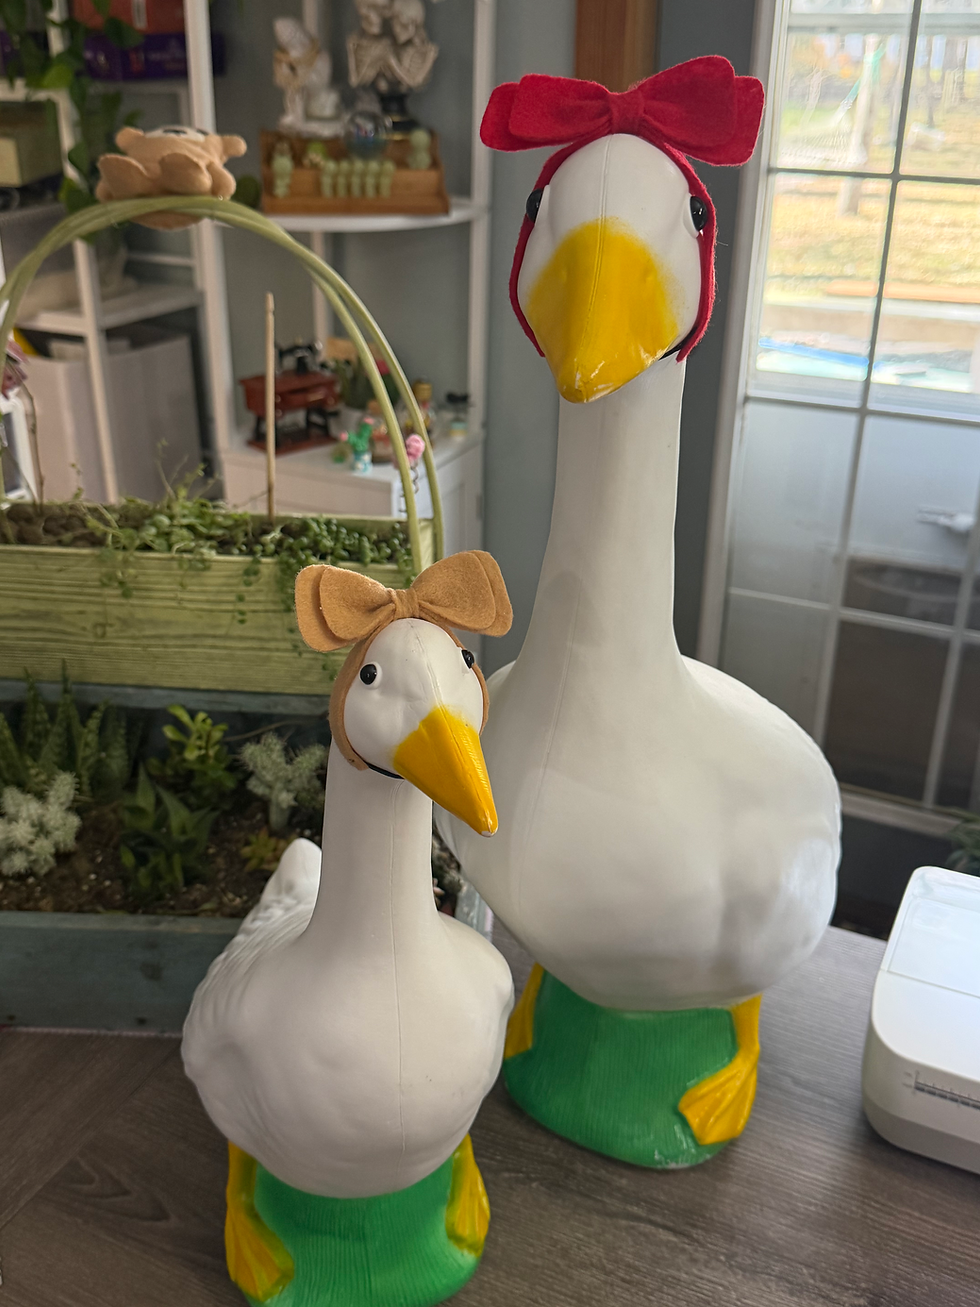
In this tutorial, I’ll show you how to make a Double Bow Headband for your porch goose or doll.
This pattern is designed to fit 14-inch and 18-inch dolls, and 17-inch and 23-inch porch geese. Choose the matching pattern size before you begin.
Follow along step by step as we attach the elastic, gather the two bow layers, and wrap the center piece around the bow and headband for a neat finish.
What You’ll Need
Felt
Elastic
Matching thread and a sewing needle
Scissors
Pins or sewing clips
Elastic Cutting Lengths
Cut one piece of elastic using the measurements below.
Pattern size | Elastic length |
14-inch doll | 2.5 inches |
18-inch doll | 2.5 inches |
17-inch porch goose | 2 inches |
23-inch porch goose | 2.5 inches |
🎁Free Printable patterns and video tutorial at the bottom of the page!

Shop My Sewing Favorites
Want to peek inside my sewing basket? Visit my Amazon storefront to browse my favorite sewing supplies, craft essentials, and handy tools for your next project.
As an Amazon Associate I earn from qualifying purchases.
Print and cut out the pattern pieces

🪡 Cutting Guide

Step 1: Attach the Elastic


Step 2: Align the Bow Layers

Step 3: Sew a Running Stitch to Gather and Pinch the Center


Step 4: Position the Bow on the Headband


Step 5: Wrap the Center Piece


Your Double Bow Headband Is Finished!
Fluff and adjust the bow layers, then slip the headband onto your doll or porch goose. Try different fabrics to create a look for everyday decorating, holidays, or the changing seasons!



🎥 Watch the Video Tutorial
If you enjoy my free sewing patterns and tutorials, please consider subscribing to my YouTube channel, Happy Bankky Crafty Mom.
Your support encourages me to keep creating and sharing more free patterns with everyone. 💕
Thank you so much for sewing along with me.
I hope you enjoyed this tutorial! See you in the next one—happy crafting!

Was this tutorial helpful? Consider buying me a cup of coffee!
It will help cover the costs around here and encourage more free patterns and tutorial

14" and 18" dolls Free Printable pattern Here!
17” and 23" Porch Goose Free Printable pattern Here!
PATTERNS POLICY
Please feel free to use the patterns as you like and you don’t have to to give me any credit if you don’t want to, I just want to create patterns that are free and available for everyone, It’s will be my Honor if my creativity can be helpful to you in any way 🥰
And of course, you’re welcome to sell the finished project using my pattern. And if you sell them, I hope you earn a whole lot of money! ☺️

Thanks for stopping by
and allowing me to share a little of my passion
I Hope You Have a Lovely day!
And don't forget to Do more of what makes you happy!
HAPPY BANKKY / CRAFTY MOM


