top of page

🪿✨ Porch Goose Series: EP. 1 Basic Porch Goose Dress & Bandanna

  • Writer: Bankky N.
    Bankky N.
  • Apr 22
  • 2 min read

There’s just something so heartwarming about a dressed-up porch goose 🥹💕

It brings personality, charm, and a little bit of joy to your home.


Today I’m so excited to start a brand new series—

The Porchh Goose Series

Where we create simple, adorable outfits for our porch geese!


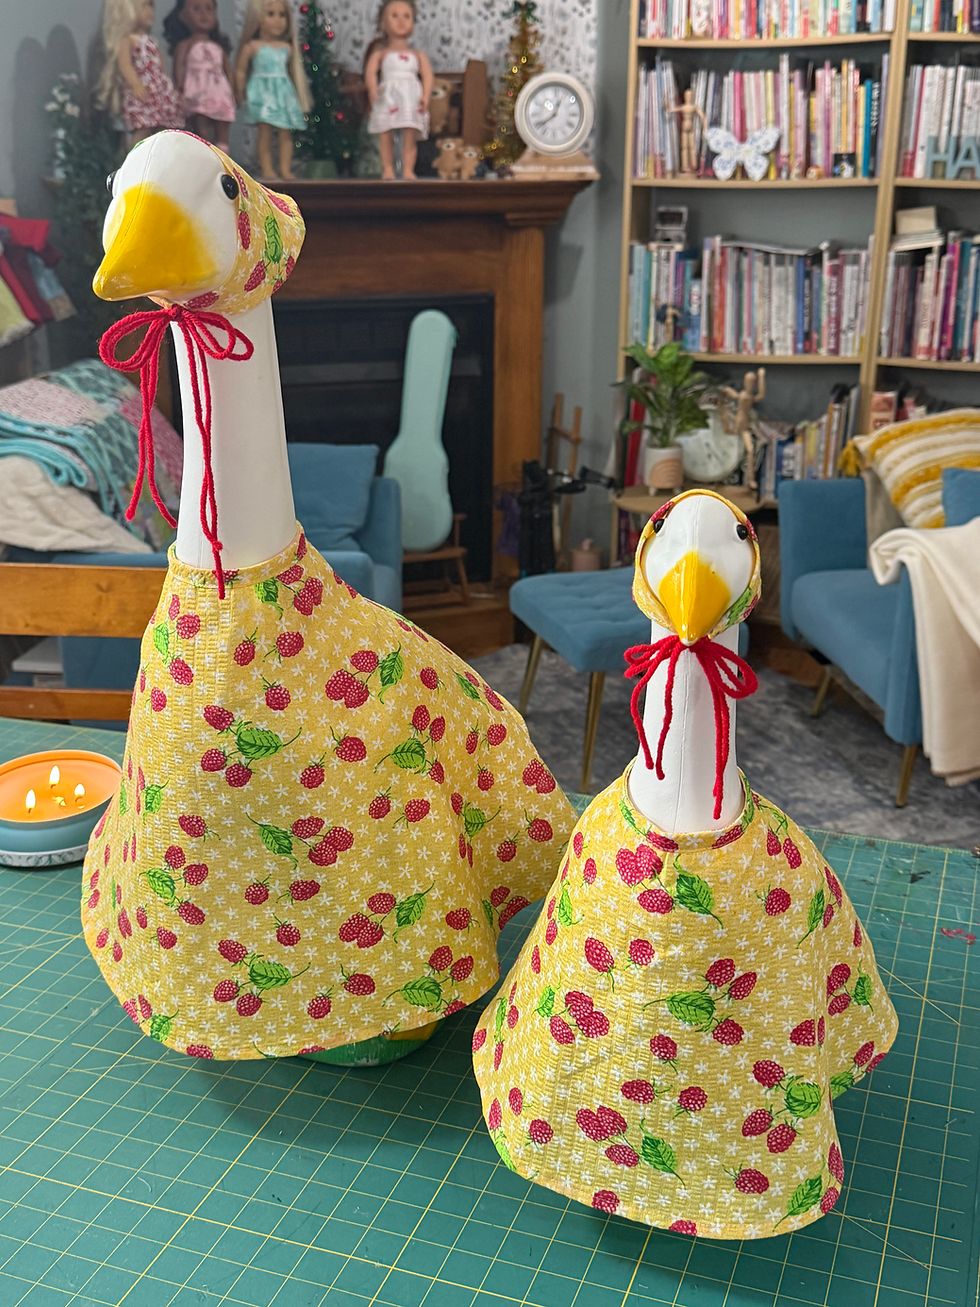
This first project is perfect for beginners: a basic dress and matching bandanna, designed to fit both 17-inch and 23-inch geese.


🎁Free Printable patterns & Video tutorial at the bottom of the page!


🧵 Materials You’ll Need


  • Fabric

  • Bias tape (for neckline)

  • Yarn or ribbon (for bandanna ties)

  • Sewing machine

  • Thread

  • Pins or clips

  • Iron


Video Tutorial


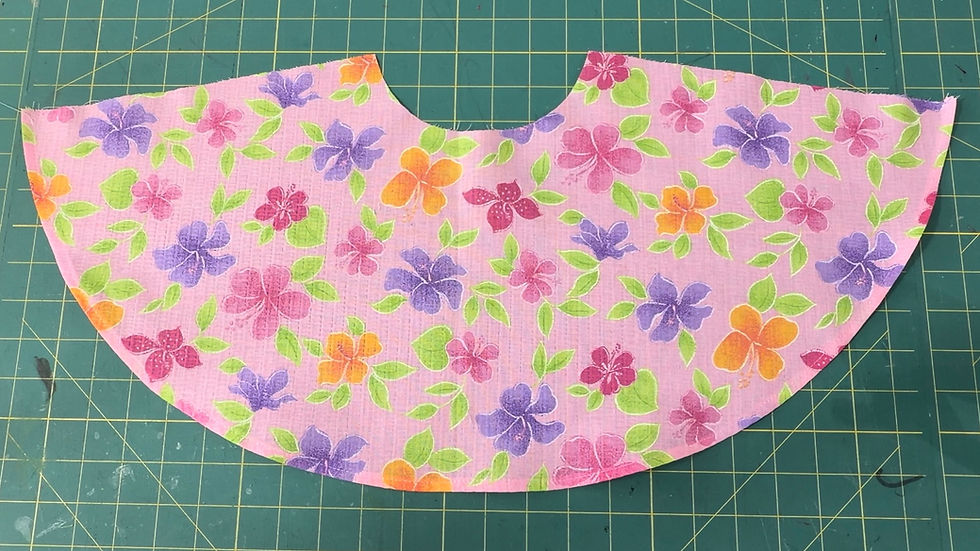
Print and cut out the pattern pieces in the correct size for your goose.


23" goose Pattern
23" goose Pattern
23" goose pattern
23" goose pattern
17" goose pattern
17" goose pattern
17" goose pattern
17" goose pattern


Lay your fabric flat, pin the pattern pieces, and cut carefully.

Instructions:


🪿 Step 1: Make the Bandanna

This small detail makes SUCH a big difference—so cute and easy 💕
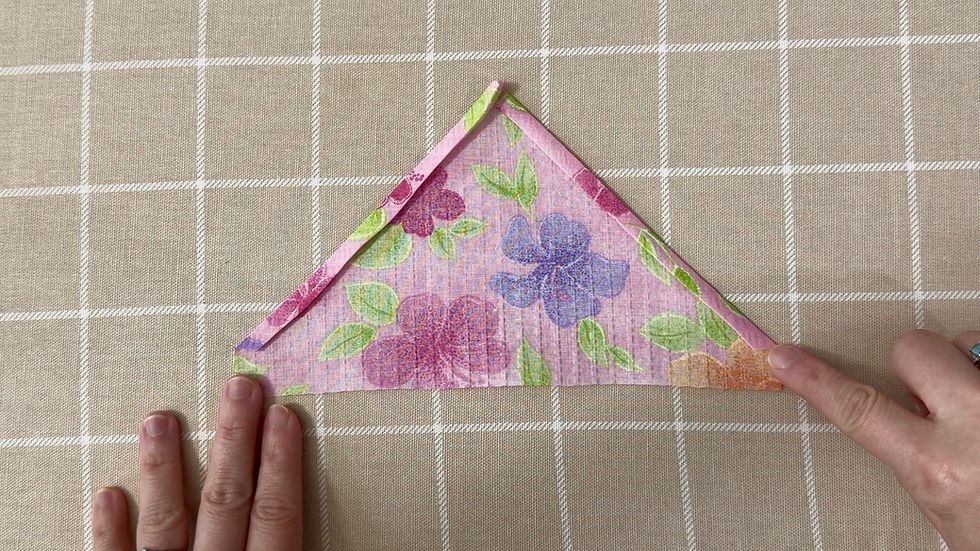

Press and fold  the edges of the bandanna.
Press and fold the edges of the bandanna.

Topstitch around the sides (right side).

Topstitch around the sides (wrong side).

Insert yarn or ribbon into the bandanna’s side edges.


Stitch to secure ties (wrong side).
DONE! (right side)
DONE! (right side)


Step 2: Sewing the Dress


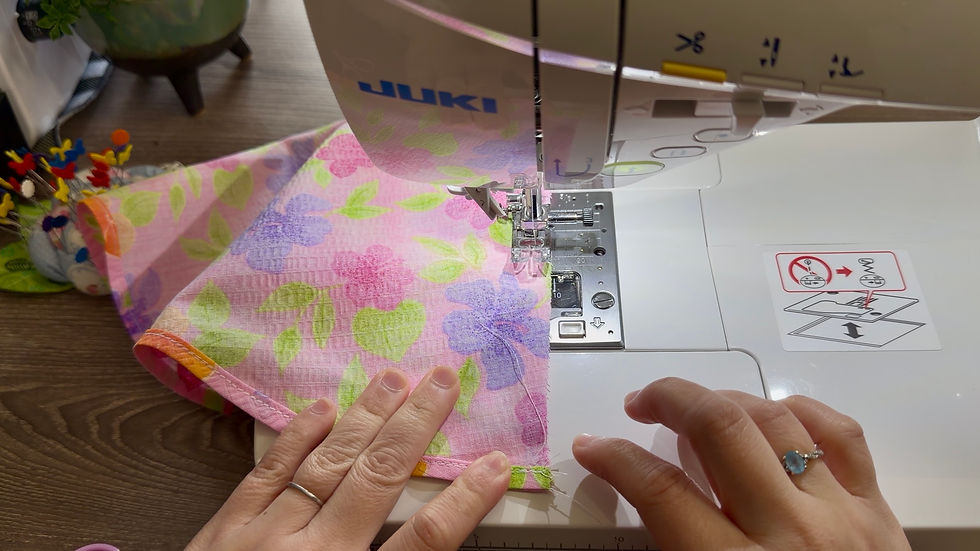
Hem the bottom edge of the dress skirt by folding and stitching.
Stitch 1/4" away from the edge;  fold down 1/4", and stitch.
Stitch 1/4" away from the edge; fold down 1/4", and stitch.
Fold down 1/4" down again and stitch for the nice clean look.


Press bias tape in half.

Attach bias tape to the wrong side of the neckline and stitch

.

Gently pull the fabric while Stitching.

Clip the curve and trim bulk.
Press and flip the bias tape to the right side.
Topstitch along the edge.
(right side)
(right side)
(wrong side)
(wrong side)


Fold the right side together, Matching back seam.
Stitch the back seam of the dress to close it.

Finish the back seam with a serger or zig-zag stitch to prevent fraying.

(optional) Topstitch the seam down flat for a clean finish.
Back of the dress.
Back of the dress.


And Your gooses dress is done!


I hope you enjoyed this tutorial! See you in the next one—happy crafting!


Was this tutorial helpful? Consider buying me a cup of coffee!

It will help cover the costs around here and encourage more free patterns and tutorial

17”Porch Goose Free Printable pattern Here!


23”Porch Goose Free Printable pattern Here!


PATTERNS POLICY

Please feel free to use the patterns as you like and you don’t have to to give me any credit if you don’t want to, I just want to create patterns that are free and available for everyone, It’s will be my Honor if my creativity can be helpful to you in any way☺️


Thanks for stopping by

and allowing me to share a little of my passion

I Hope You Have a Lovely day!

And don't forget to Do more of what makes you happy!

HAPPY BANKKY / CRAFTY MOM

Don't Miss Out

Sign Up For More Craft Project!

©2024 by HAPPY BANKKY / CRAFTY MOM created with Wix.com

bottom of page