


✨ Porch Goose Sewing Series EP. 4 | Reversible Tie Collar 🎀 FREE Pattern

Updated: Sep 25

It’s time for Episode 4 of my Porch Goose Sewing Series! 🪿🧵💕
Today we’re making a super easy Reversible Tie Collar for your porch goose, and of course, I made a FREE sewing pattern for both my 17” and 23” porch geese!
I love little accessories like this because you can completely change your goose’s outfit without sewing a whole new dress.
This collar can be worn with the ribbon bow in the front or in the back. You can wear it all by itself for a simple look, or layer it over one of your porch goose dresses to give the dress a completely different neckline. 🎀
And because we’re using two layers of fabric, you can make the collar with two coordinating fabrics and flip it over for even more outfit combinations!
It’s also a great little scrap fabric sewing project. ✂️💕
🎁Free Printable patterns and video tutorial at the bottom of the page!
🧵 Materials You’ll Need
FREE Reversible Tie Collar pattern
Cotton fabric
Coordinating or contrasting fabric for the lining
Ribbon
Matching thread
Sewing machine
Fabric scissors
Pins or sewing clips
Iron

Shop My Sewing Favorites
Want to peek inside my sewing basket? Visit my Amazon storefront to browse my favorite sewing supplies, craft essentials, and handy tools for your next project.
As an Amazon Associate I earn from qualifying purchases.
Print and cut out the pattern pieces in the correct size for your goose.

How to Sew the Reversible Tie Collar
Step 1 – Cut the Collar Pieces

You can use the same fabric for both pieces or choose two coordinating fabrics to make your collar truly reversible. 💕
Step 2 – Prepare the Ribbon Ties 🎀
Cut the ribbon according to your goose size:
17” Goose: Two 8” ribbon pieces
23” Goose: Two 10” ribbon pieces
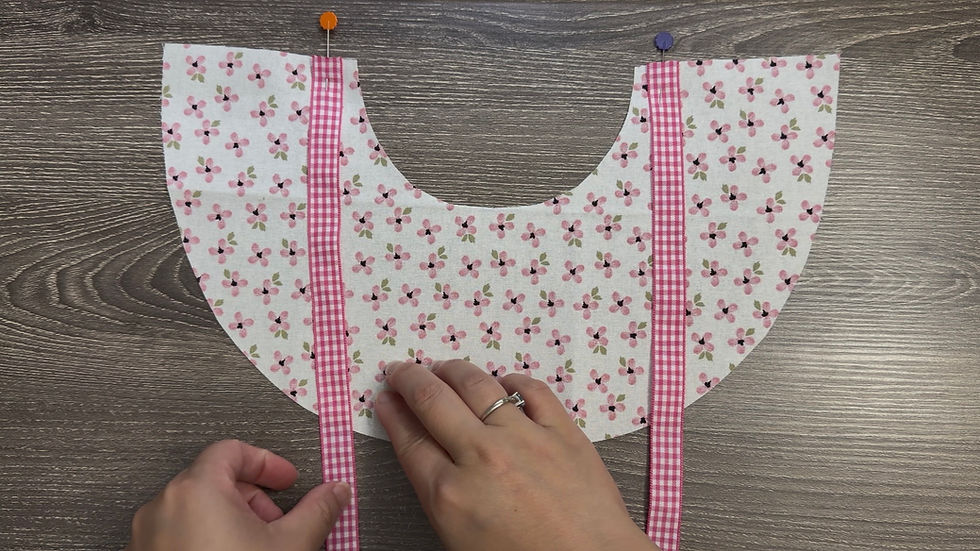

Step 3 – Add the Lining
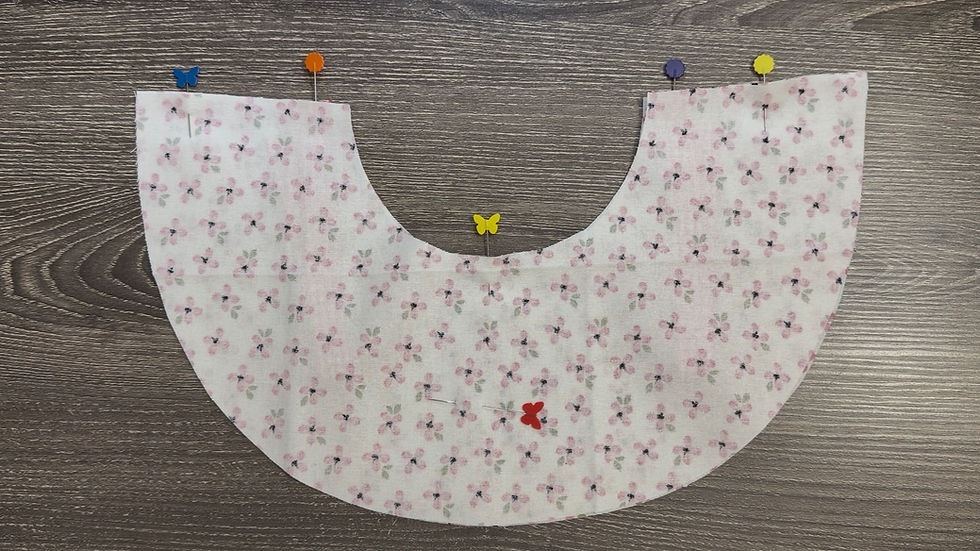
The ribbon ties should now be sandwiched between the two layers of fabric.
Step 4 – Sew Around the Collar

As you sew, make sure the loose ends of the ribbons remain tucked inside and away from your stitching.

Step 5 – Clip the Curves & Trim the Corners ✂️


Step 6 – Turn & Press


Step 7 – Topstitch


The topstitching will give the collar a nice finished look while also closing the turning opening.
And that’s it! 🪿🎀
Your Reversible Tie Collar is finished!


🎀 So Many Ways to Wear It!
This is my favorite part.


You can also wear it By itself for a quick porch goose accessory


Make a few collars in different fabrics and you can mix and match them with the porch goose clothes you already have.
Think florals for spring, strawberries for summer, pumpkins for fall, Christmas prints for the holidays… 🪿🎄🎃🌸
One tiny pattern could turn into a whole collection. 💕

And Your gooses dress is done!
🎥 Watch the Video Tutorial
Want to sew along with me?
Watch Porch Goose Sewing Series EP. 4 – Reversible Tie Collar on my YouTube channel, where I’ll show you the whole project step by step.
I hope you enjoyed this tutorial! See you in the next one—happy crafting!

Was this tutorial helpful? Consider buying me a cup of coffee!
It will help cover the costs around here and encourage more free patterns and tutorial

17”Porch Goose Free Printable pattern Here!
23”Porch Goose Free Printable pattern Here!
PATTERNS POLICY
Please feel free to use the patterns as you like and you don’t have to to give me any credit if you don’t want to, I just want to create patterns that are free and available for everyone, It’s will be my Honor if my creativity can be helpful to you in any way☺️

Thanks for stopping by
and allowing me to share a little of my passion
I Hope You Have a Lovely day!
And don't forget to Do more of what makes you happy!
HAPPY BANKKY / CRAFTY MOM


