


✨🪿 Porch Goose Sewing Series EP.8 Wing Free Sewing Pattern for 17″ and 23″ Geese


Let’s give your porch goose a pair of wings! ☺️ These poseable wings have wire inside so you can gently shape them. You can also add optional elastic holders at the wingtips so your goose can hold a small accessory.
The pattern comes in sizes for 17″ and 23″ porch geese, and this tutorial includes two sewing methods:
Version 1: Sew and turn the wings right side out, then insert the wire through the back center opening.
Version 2: Layer the wings wrong sides together, then insert the wire as you sew the raw outer edges closed.
Choose whichever method works best for your fabric and sewing style!
🎁Free Printable patterns and video tutorial at the bottom of the page!

Shop My Sewing Favorites
Want to peek inside my sewing basket? Visit my Amazon storefront to browse my favorite sewing supplies, craft essentials, and handy tools for your next project.
As an Amazon Associate I earn from qualifying purchases.
Print and cut out the pattern pieces

Materials
Fabric, felt, or soft cloth
Matching thread
Flexible wire
Elastic, ribbon, or lace for the neck attachment
Optional elastic for the wingtip holders
Pins
Scissors and wire cutters
Sewing machine
Hand-sewing needle for Version 1

Cutting Measurements
Item | For a 17″ goose | For a 23″ goose |
Neck elastic | 7″ | 10″ |
Ribbon or lace, instead of neck elastic | 15–20″ total | 15–20″ total |
Wire, for either version | 34″ | 45″ |
Optional wingtip elastic | Two 2″ pieces | Two 2″ pieces |
Approximate finished wingspan | 17″ | 24″ |
If using ribbon or lace, cut the strip in half to make two ties. Adjust the length depending on how you would like to tie it.
Which Wire Did I Use?

I tested three types of wire:
White stranded GPT primary wire from Lowe’s.
18-gauge galvanized wire from Walmart.
Green vinyl-coated flexible wire from Walmart.

My favorite is No. 3—the green vinyl-coated flexible wire!
Version 1: Turn First, Then Insert the Wire
Step 1: Trace the Wing Pattern


Step 2: Add the Optional Wingtip Holders


If you are not adding holders, skip this step.
Step 3: Stitch Along the Traced Outline
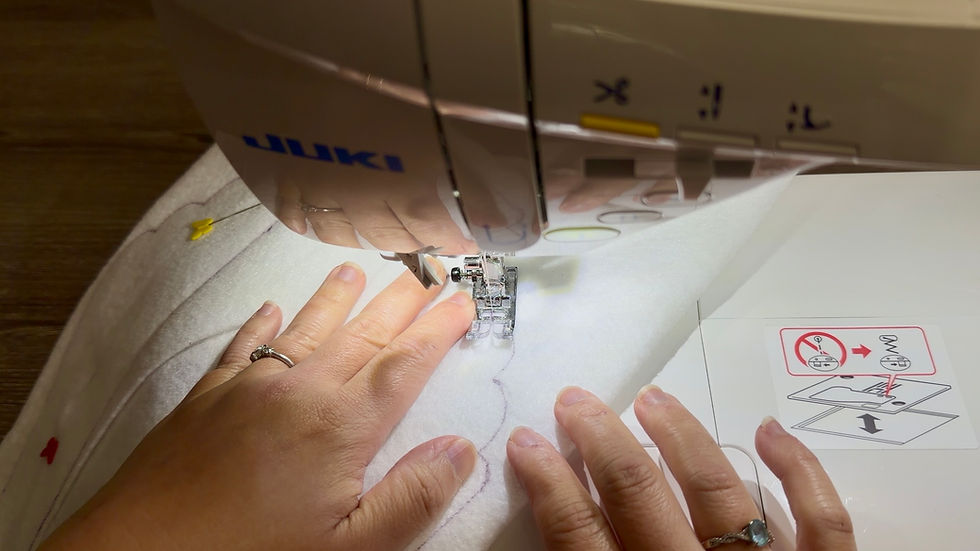

Leave the center attachment edges open.
Step 4: Trim and Clip the Curves

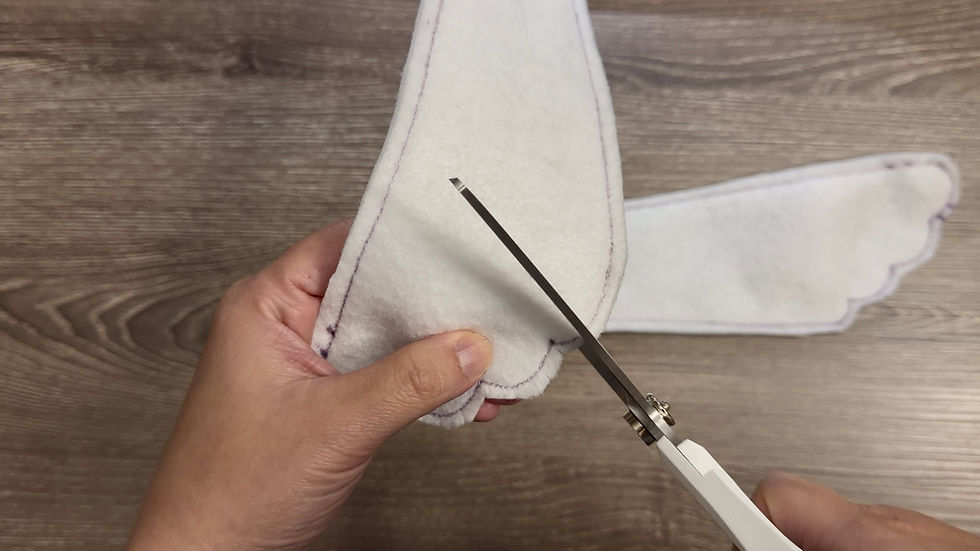

Step 5: Turn the Wings Right Side Out


Step 6: Attach the Neck Elastic or Ties


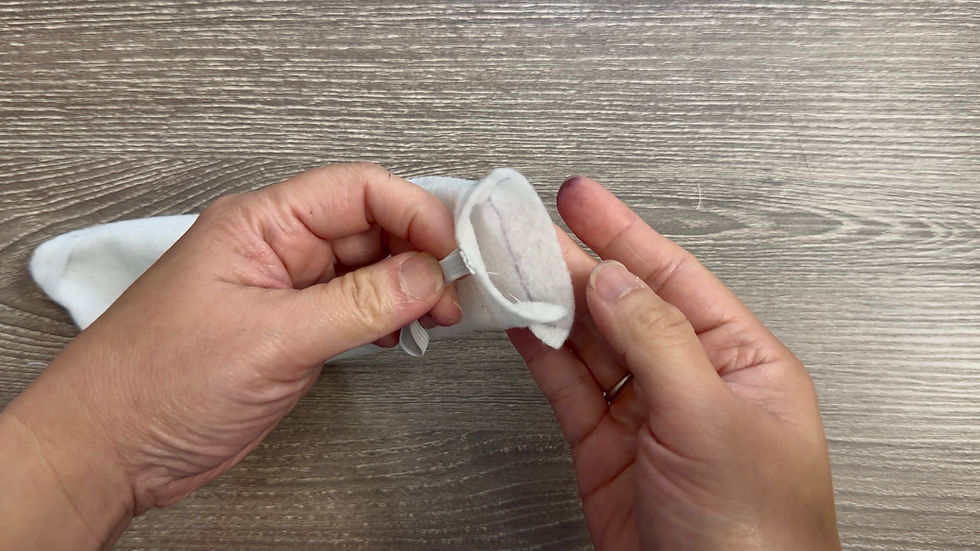

***If using lace***

Step 7: Join the Front Layers


Step 8: Separate the Ribbon or Lace Ties


Step 9: Trim the Center Seam Allowance

Step 10: Insert and Shape the Wire
Cut 34″ of wire for the 17″ goose or 45″ for the 23″ goose.


Step 11: Hand-Sew the Back Opening


Step 12: Stitch the Wire Channel

Work slowly and keep the wire clear of the sewing machine needle.
Your Version 1 wings are finished! ☺️


Version 2: Insert the Wire While Closing the Edge
Step 1: Trace the Wing Pattern


Step 2: Cut Out the Pieces


Step 3: Attach the Neck Elastic or Ties

Step 4: Join the Front Wings

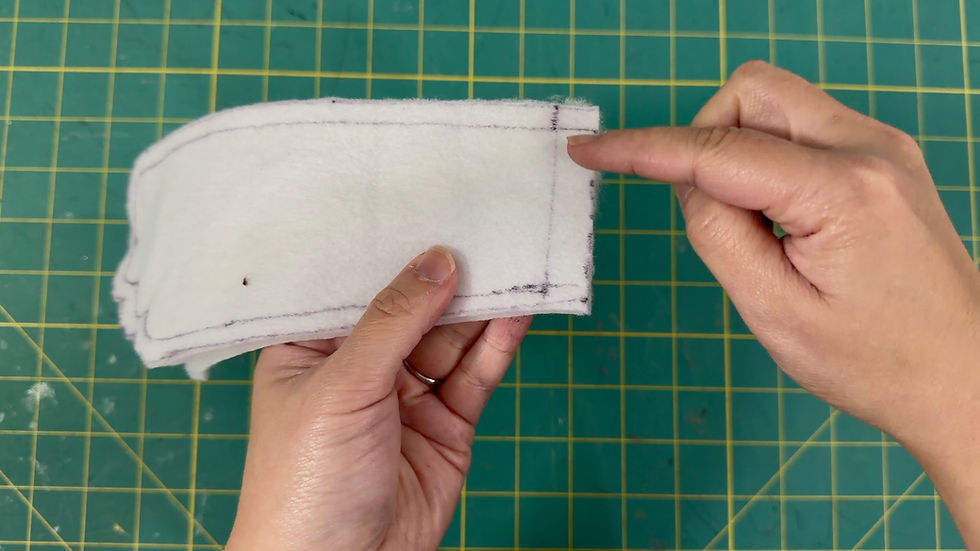


Step 5: Join the Back Wings

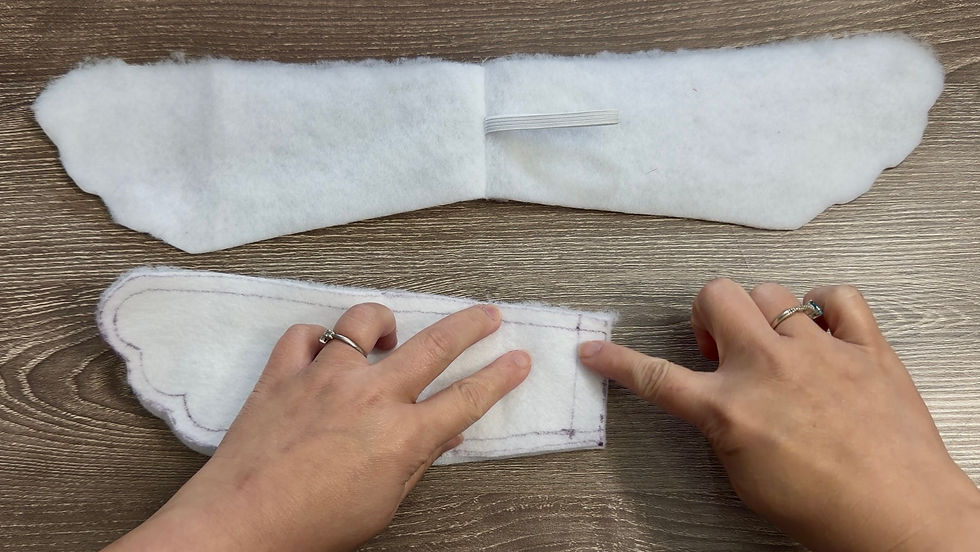
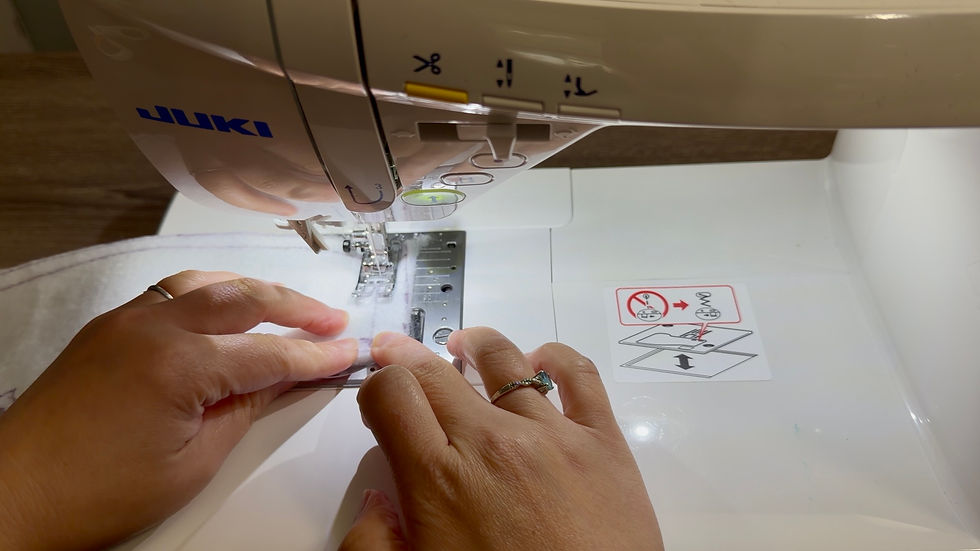


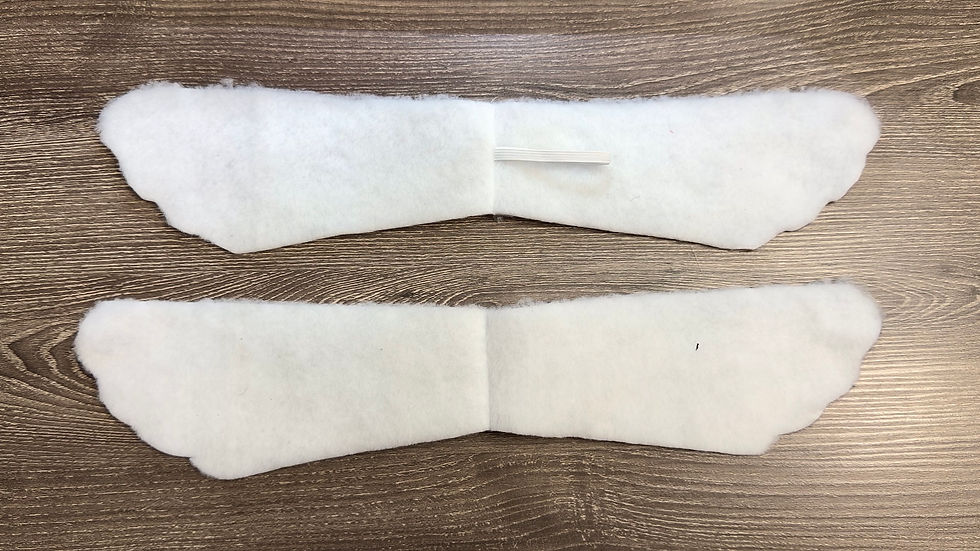
Step 6: Trim to Reduce Bulk

Step 7: Layer the Front and Back

Step 8: Sew the Inner Channel Line

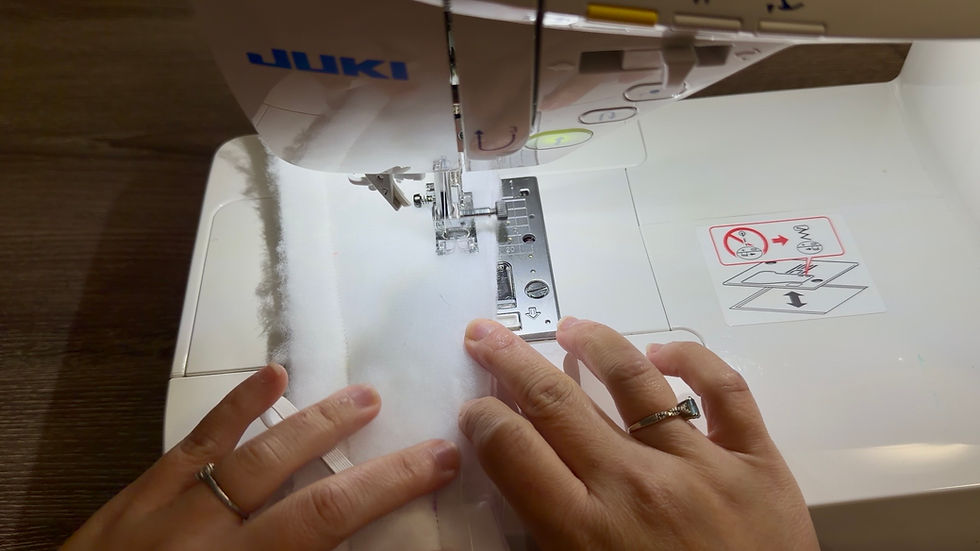

Step 9: Add the Optional Wingtip Holders


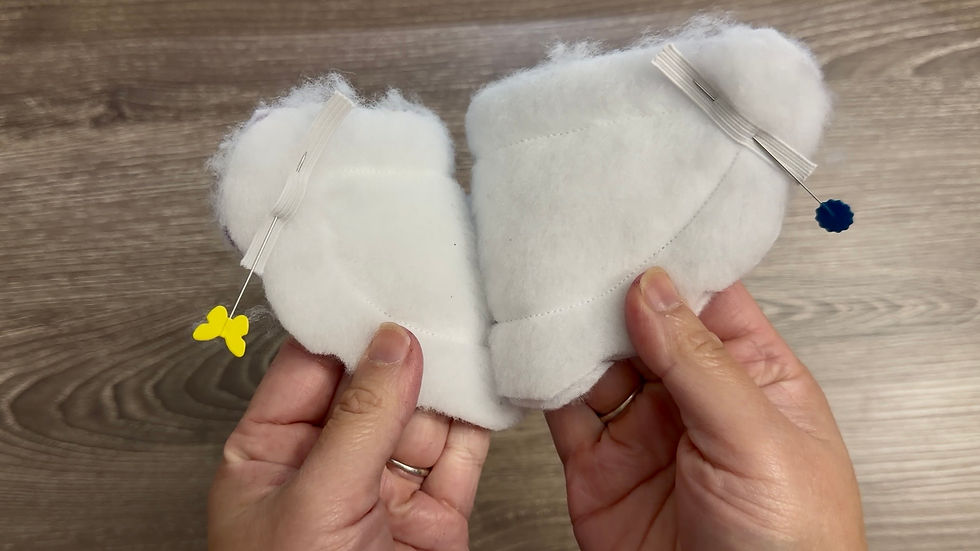
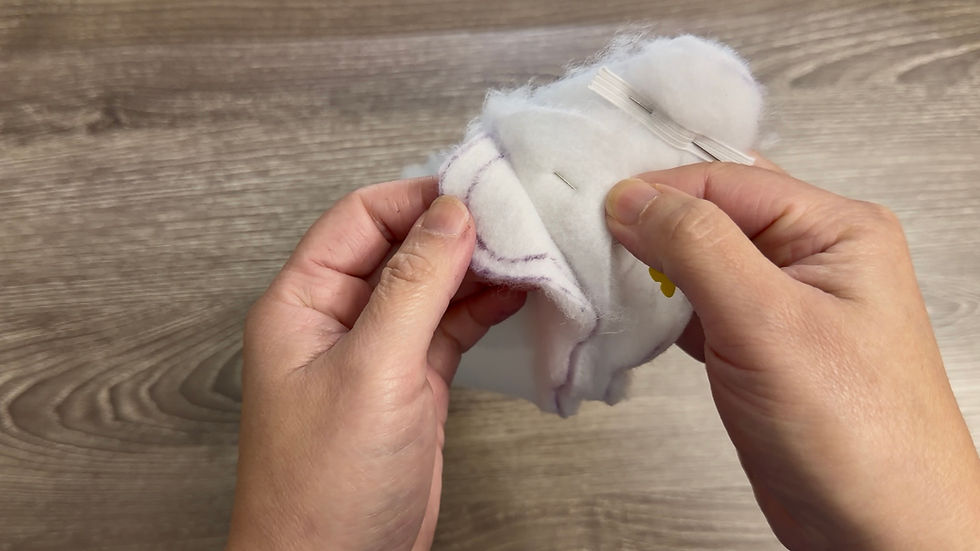
If you are not adding holders, skip this step.
Step 10: Cut the Wire
Cut 34″ of wire for the 17″ goose or 45″ for the 23″ goose.

Step 11: Begin Inserting the Wire

Step 12: Stitch the Raw Edges Together


Step 13: Trim the Seam Allowance


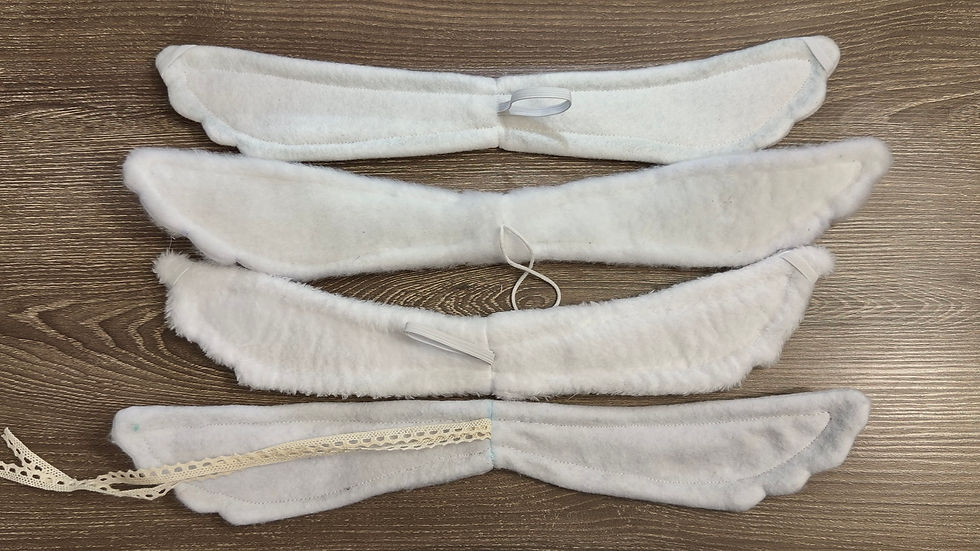
Time to Dress Your Goose!
Place the neck elastic around your goose’s neck, or secure the wings with the ribbon or lace ties.
Gently shape the wings into your preferred pose. If you added the elastic holders, try using them to hold a small accessory!


Make It Your Own ☺️
This tutorial is another fun idea to use as inspiration. Feel free to adapt it to suit your goose, your needs, and your style!
Porch geese come in many different shapes and sizes, so I can’t make a pattern that fits every goose perfectly. But I hope these basic steps give you a helpful starting point for creating your own wings.
I’d love to see what you make! Share your finished wings on Facebook with #happybankkycraftymom.
I hope you enjoyed this tutorial! See you in the next one—happy crafting!
🎥 Watch the Video Tutorial

Was this tutorial helpful? Consider buying me a cup of coffee!
It will help cover the costs around here and encourage more free patterns and tutorial

17” & 23”Porch Geese Free Printable pattern Here!
PATTERNS POLICY
Please feel free to use the patterns as you like and you don’t have to to give me any credit if you don’t want to, I just want to create patterns that are free and available for everyone, It’s will be my Honor if my creativity can be helpful to you in any way☺️

Thanks for stopping by
and allowing me to share a little of my passion
I Hope You Have a Lovely day!
And don't forget to Do more of what makes you happy!
HAPPY BANKKY / CRAFTY MOM


